Shopping is fun, but wrapping can be even better if you really get into the art of it. From DIY gift toppers to creative ways to make your own wrapping paper, we've got the holidays all wrapped up with tons of great Christmas gift wrap ideas to try.
Ready to give a present that will look prettier than anything else under the tree? Channel your inner elf and get ready to be inspired.
Festive Wreath DIY Gift Topper
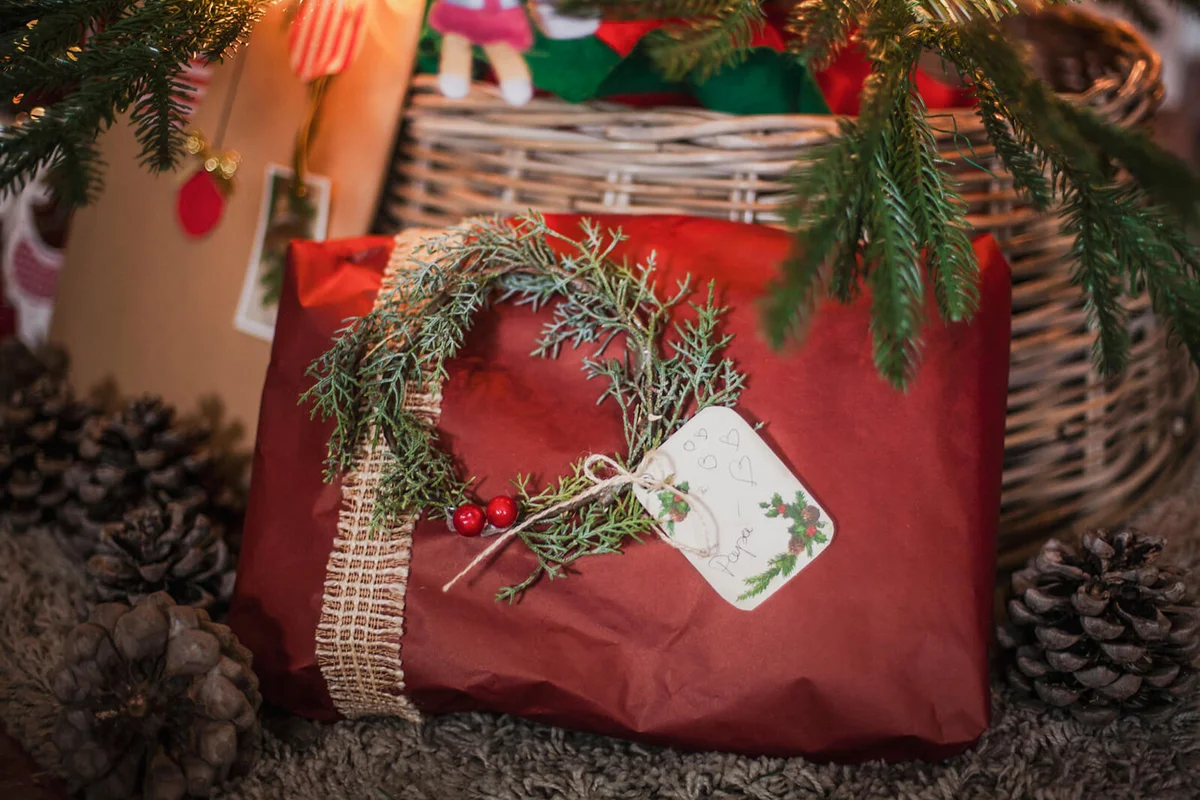
A wreath is a classic holiday decoration on your front door, but it's a little unexpected (and extra fun) on top of a present. This is an easy (and eye-catching) DIY gift topper.
- Shop your own backyard for a little greenery or stop by the local craft store for artificial pine boughs.
- Form them into a wreath and secure it with floral wire.
- Add unique little decorations like berries and glitter to spruce it up.
- Secure it to a plainly wrapped gift with ribbon.
Chalkboard Wrapping Paper

This is one of the easiest Christmas gift wrap ideas, and it's got unlimited creative potential. All you need is a roll of black matte wrapping paper and lots of white or silver paint pens. You can draw your own decorations on the paper (even bows) like the wrapped gift is a chalkboard.
Quick Tip
I did this for all my gift wrap a couple of years ago, and it was so fun! I bought a huge roll of black paper, wrapped everything, and then went nuts decorating. I added red and white twine bows to bring in a little color.
Melted Crayon Wrapping Paper

Another amazing DIY wrapping paper idea is using melted crayons to make gorgeous swirled patterns on the paper. All you need is some brown craft paper, a cheese grater, old crayons, waxed paper, and an iron.
- Unwrap the crayons and use a cheese grater to shave small pieces of colorful crayons onto a piece of brown craft paper.
- Place one piece of wax paper under the crayon shaving paper and another piece above it. We're basically talking a sandwich of waxed paper, crayon shavings on craft paper, and another piece of waxed paper.
- Use an iron, on the lowest setting, to melt the wax. Do not move the iron in a circular motion, or you will run the risk of ripping the paper. The crayons should melt almost immediately.
- Carefully remove the top piece of waxed paper and let the wrapping paper cool.
Quick Tip
Use red, green, and white crayons for a "Christmasy" look, or use multiple colors to achieve a totally different vibe. You can use tissue paper instead of brown craft paper, too.
DIY Paper Poinsettia Name Tag
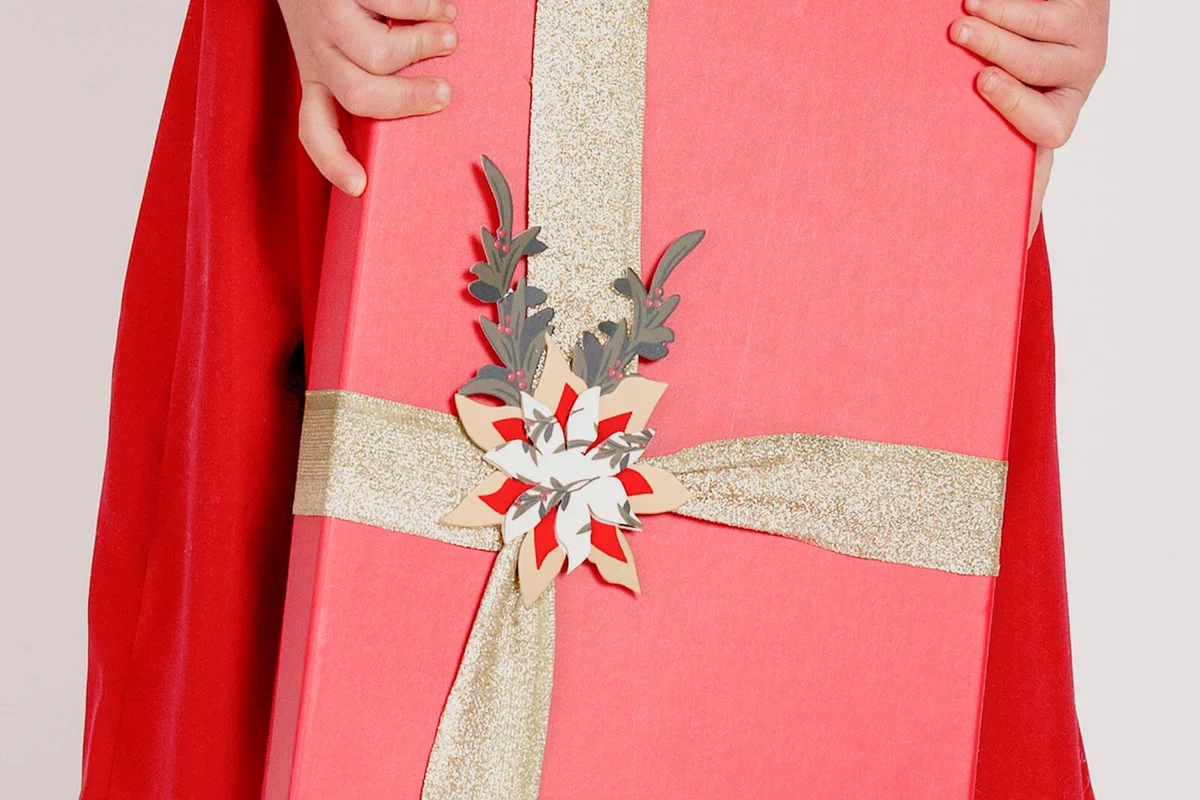
For a simple, yet crafty way to make your present unique, you can create a paper poinsettia name tag. For this, you just need gold and red paper, some scissors, and tape.
- Use a simple poinsettia pattern to create three flowers. Each flower should be slightly smaller than the first.
- Trace the pattern onto the colored paper and cut the flowers out. The largest should be red, the middle should be gold, and the smallest should be red.
- Stack these starting with the largest to smallest.
- Tape them together.
- Write the name of your recipient in the center of the poinsettia.
- Attach it to some ribbon to create a centerpiece on your present.
If you want to get super fancy, then you might cut some leaves out of green paper to add to the adornment.
Hand-Stamped Gift Tags
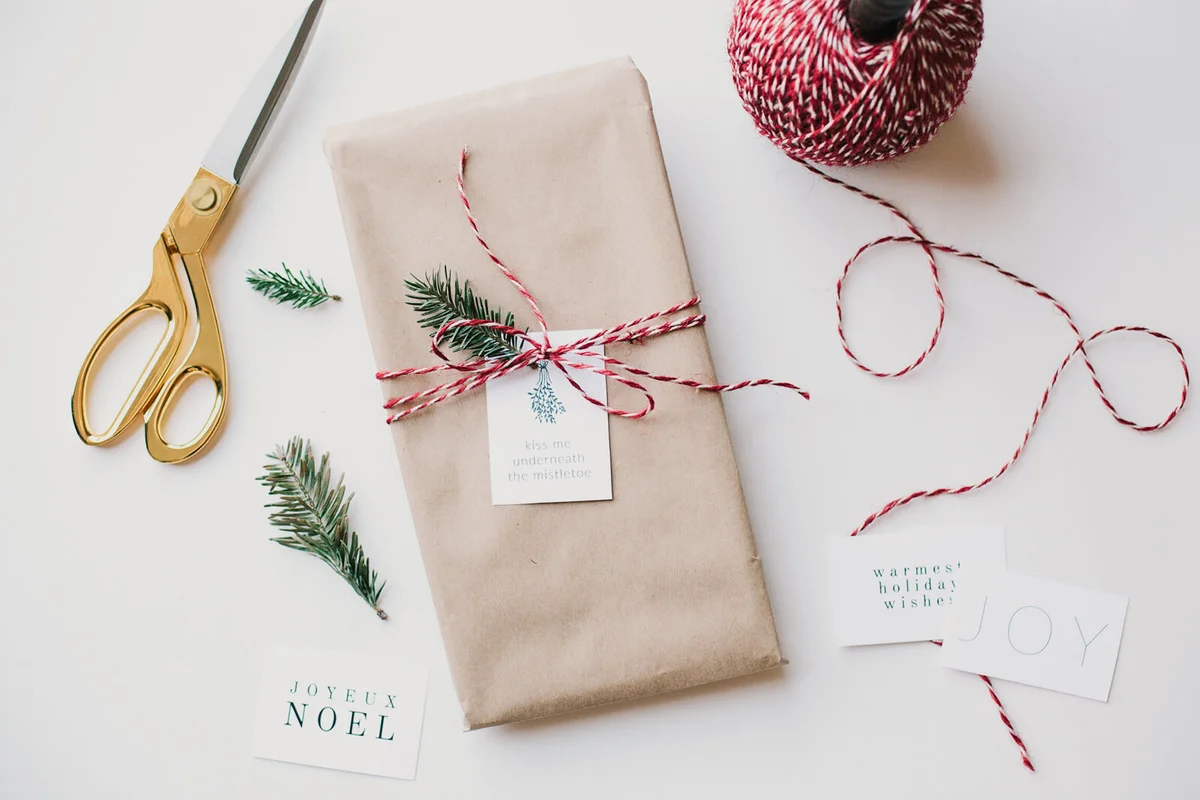
Think of gift tags as the jewelry for a simply wrapped gift. They can be incredibly pretty, and spending your time on the tag is an easy way to make a present look a little more luxe.
Grab your collection of rubber stamps or head to the craft store to pick out some new ones. Then use these to create your custom tags. We like adding little extra touches, too. Paint parts of the stamped design or use calligraphy pens to write the name. It's all about making it ultra special.
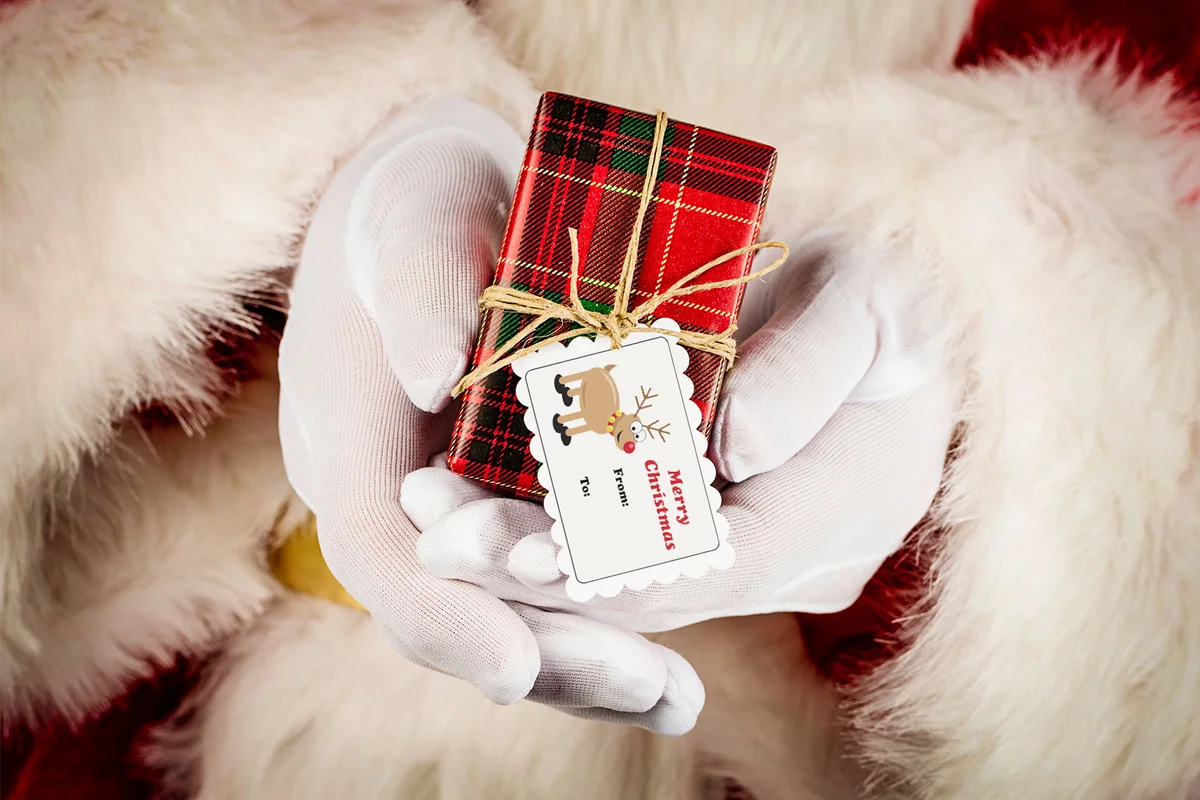
Adorable Rudolf Gift Wrap
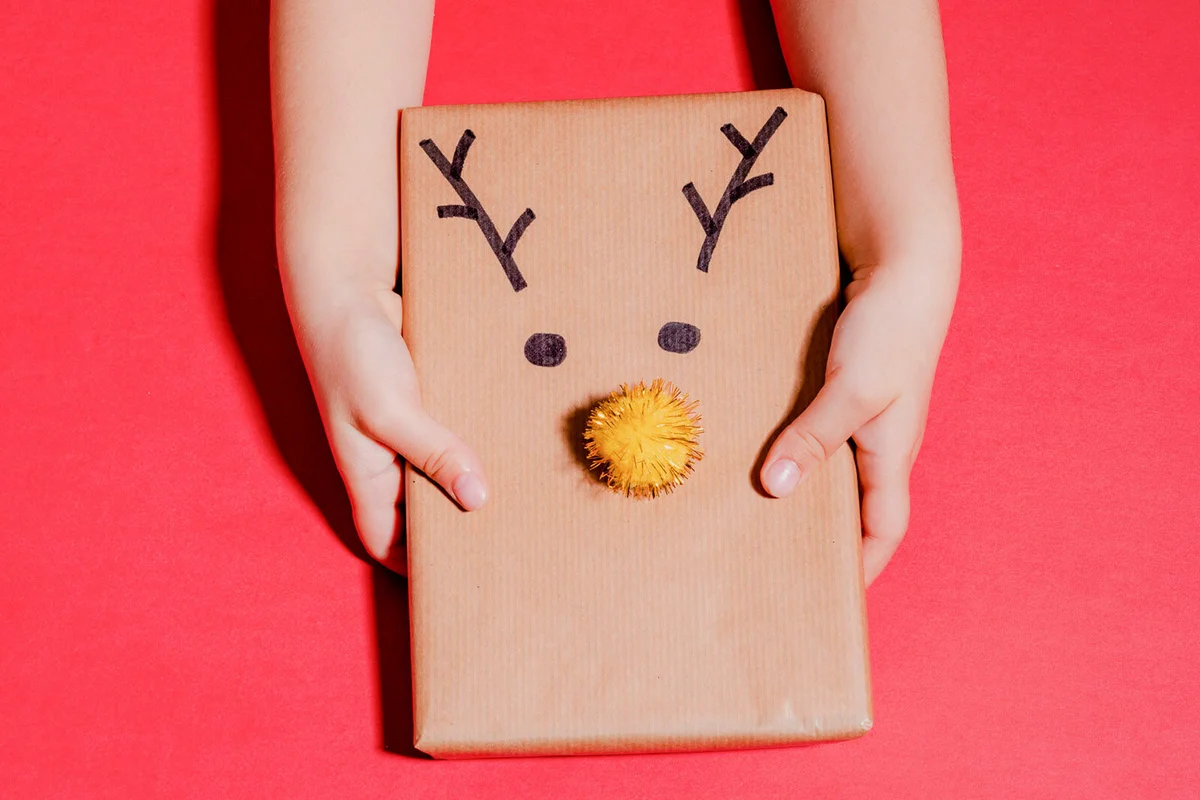
A great DIY gift wrap idea for a present for a kid (or someone who is a kid at heart) is making your own Rudolf the Red-Nosed Reindeer present. You just need some plain brown wrapping paper, a marker, tape, brown paint and paper, a red ball, and a little creativity.
- Wrap the present in simple light brown paper.
- Use a sharpie to draw some antlers and eyes.
- Attach the red ball with some tape for the nose.
- If you have kids, you might have them dip their hands in some brown paint to create the antlers, and cut out two brown paper ears.
Upcycled Sheet Music Gift Wrap

There are tons of fun ways to upcycle sheet music, but we love using it as gift wrap. This idea is guaranteed to make your gifts sing (sorry, we had to):
- Grab some old sheet music (bonus points if it's for a Christmas song).
- Wrap the present, layering the sheet music so you cover the whole thing.
- Add a festive bow and a beautiful red bell.
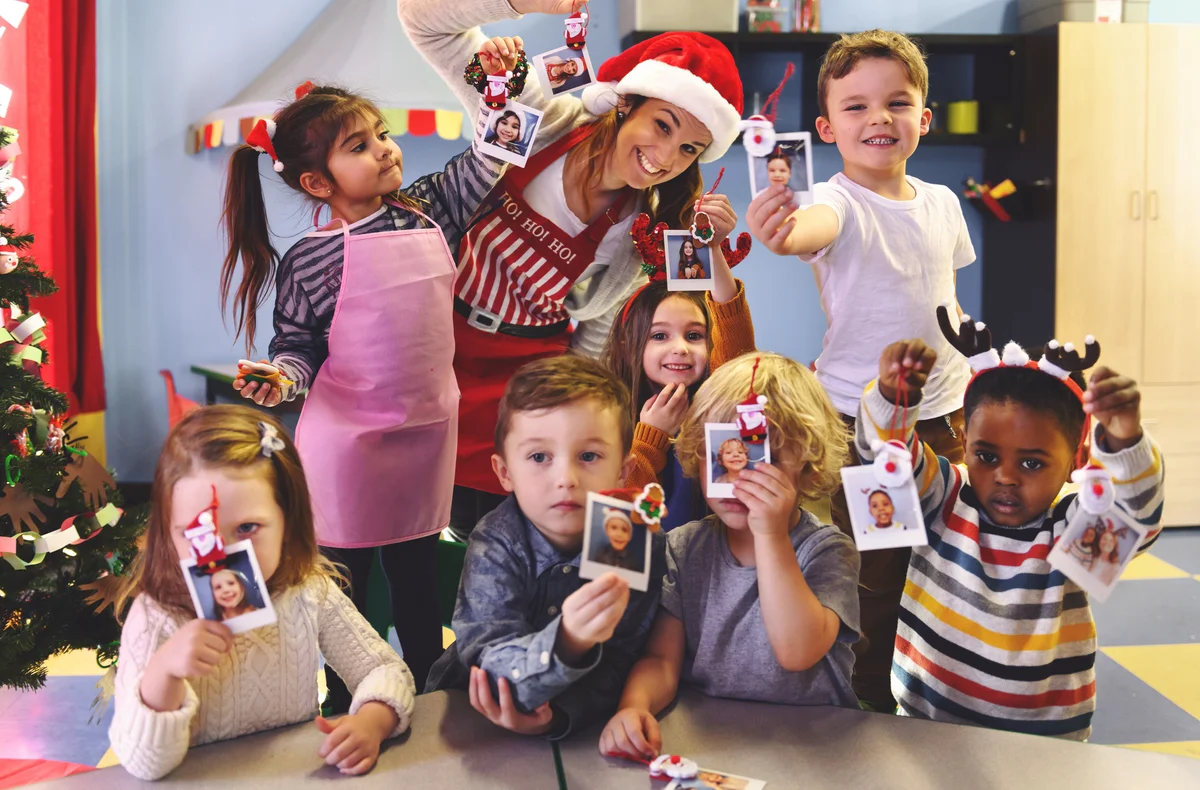
Christmas Handprint Gift Wrap
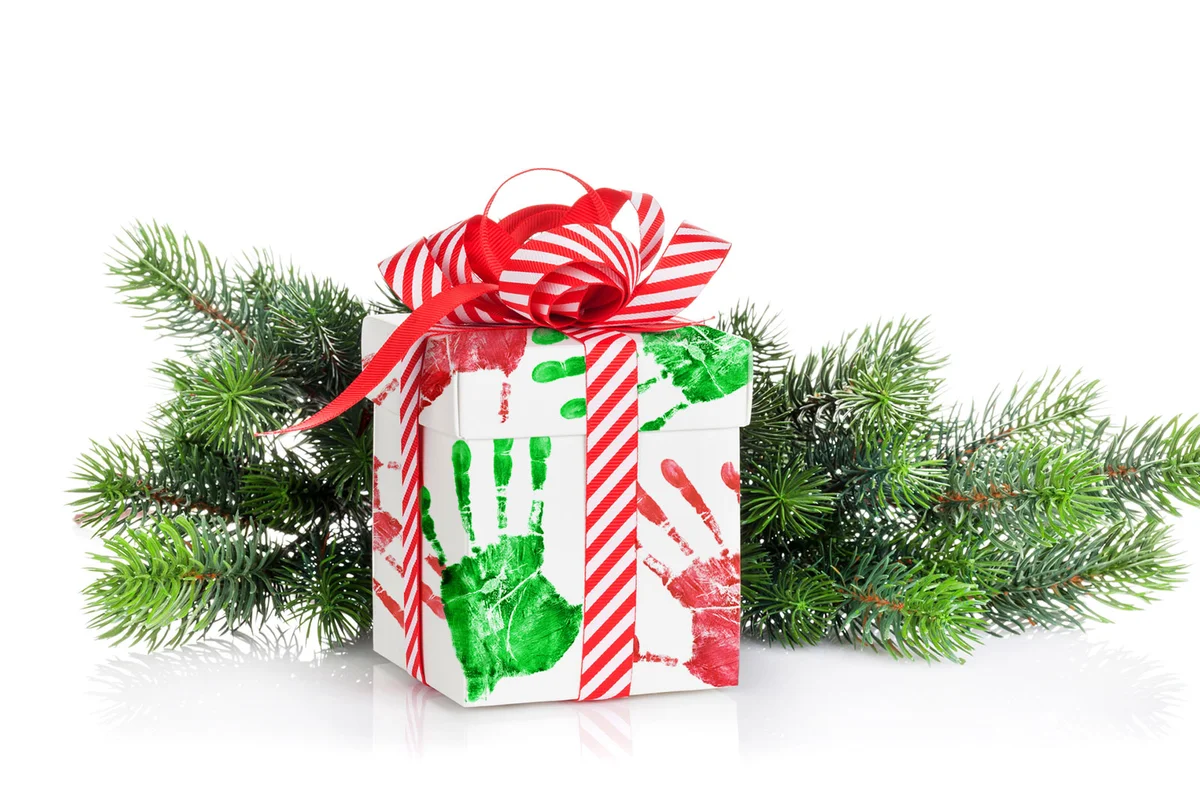
Let your wrapped gifts double as memorable keepsakes this holiday and get the littles involved in the holiday fun as well. For this you'll need red and green finger paint, white matte wrapping paper, and the nearest child.
- Cut the gift wrap to the size you're going to need for a present.
- Dip your kiddo's hands into a shallow pan of finger paint.
- Press the hands onto the paper.
- Repeat the process to create a pattern.
- Allow the print to dry and wrap the gift.
Quick Tip
We're all for keeping this simple because it's hard enough to manage little hands and paint, but if you want to get funky, you can use red and brown handprints to create Santas and Rudolphs. Add faces and details with a black marker.
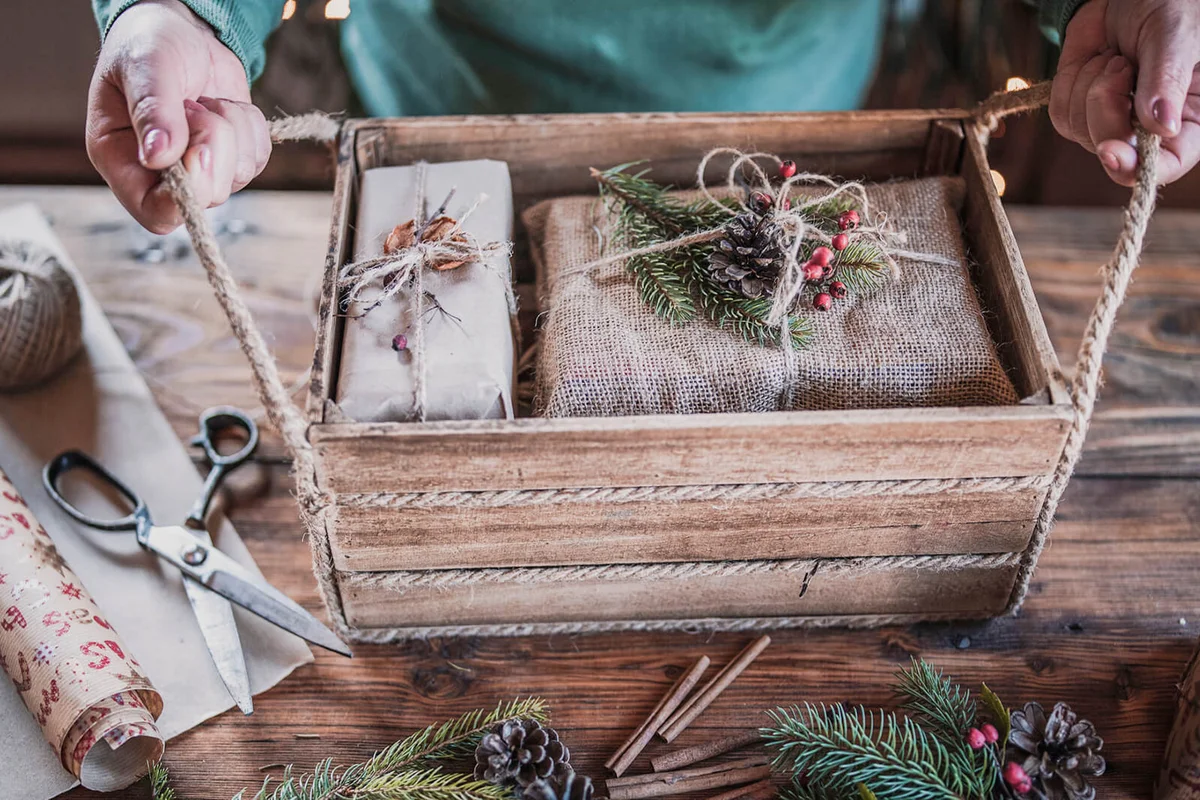
Magic of Nature Christmas Gift Wrap

We all know red and green are Christmas colors, but there's no reason your presents have to stick to this color palette to be festive. One of our favorite Christmas gift wrapping ideas is going really neutral with the wrapping and bringing in elements of nature in the gift toppers.
For the actual wrapping, use craft paper, homemade paper, burlap, or linen. This creates a background for showing off the natural elements you want to add. There are tons of things to try, but these are some of our faves:
- Fern fronds
- Sprigs of holiday greenery
- Cinnamon sticks
- Pinecones
- Red berries (either real ones or from the craft store)
- Dried herbs
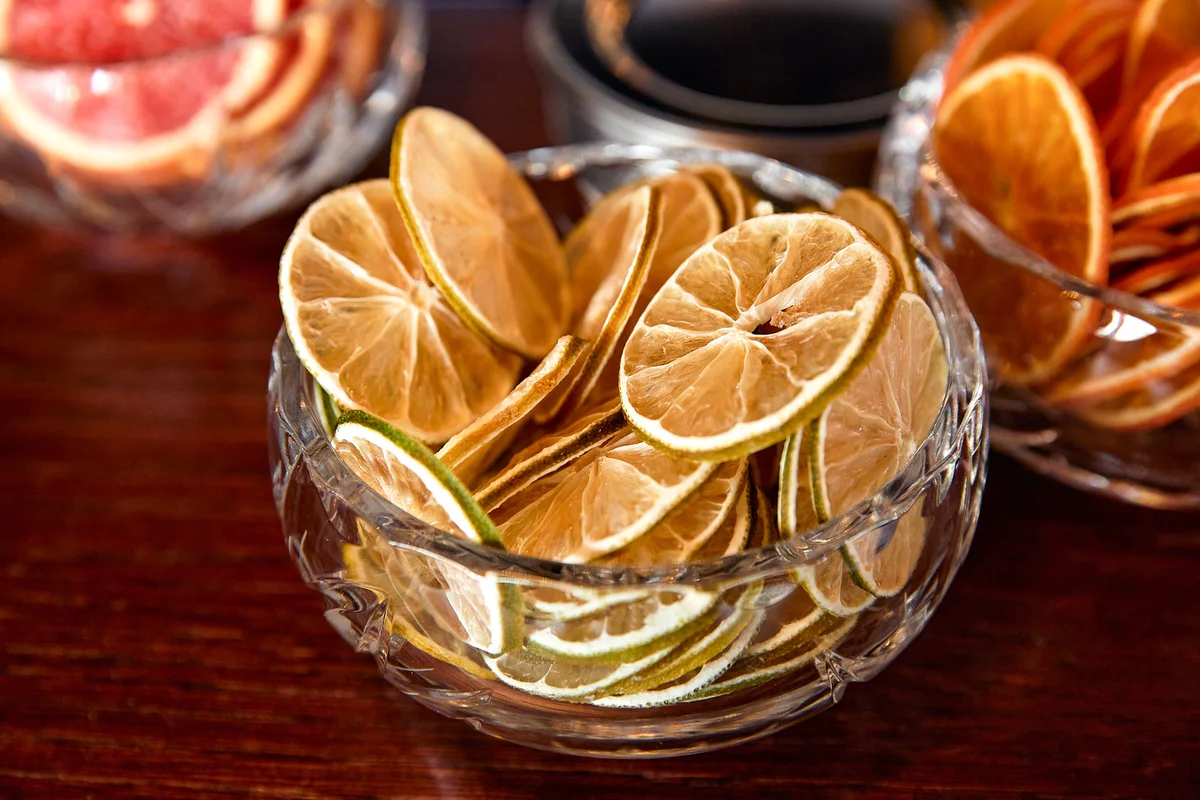
DIY Fragrant Citrus and Fabric Gift Wrap
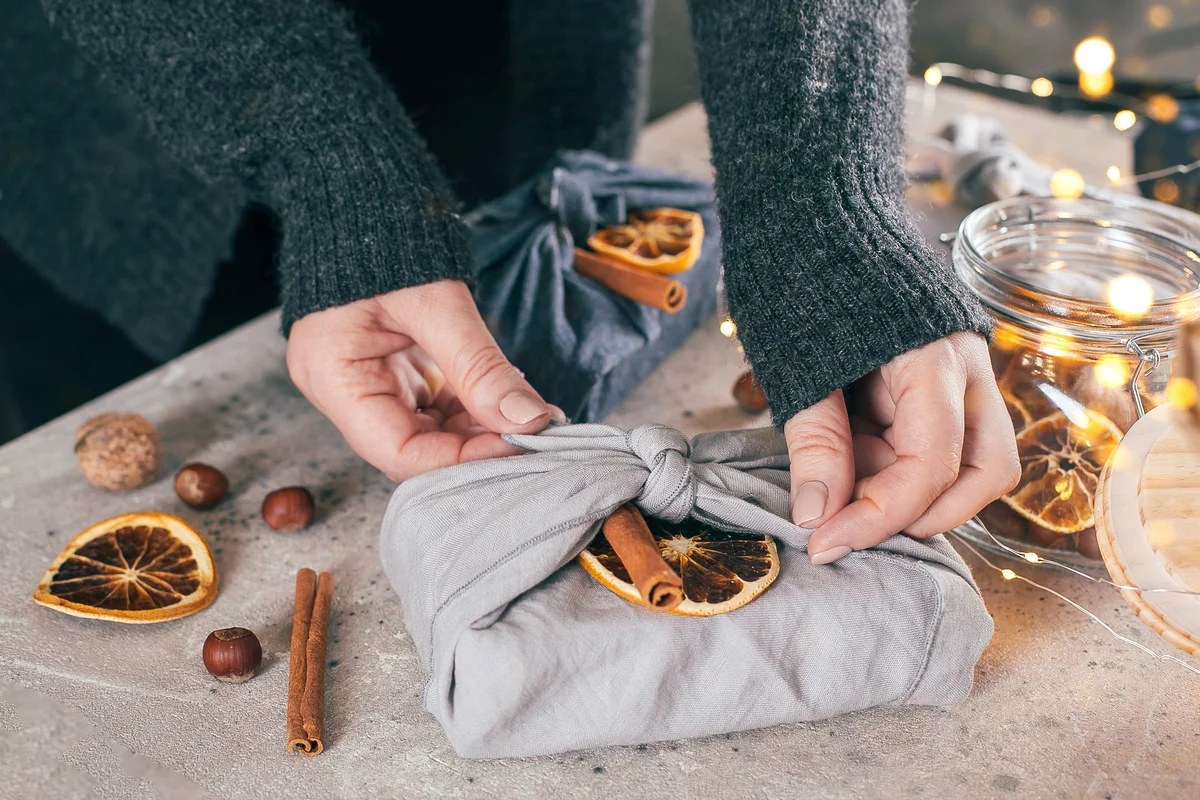
Wrapping your packages in fabric is a wonderful way to reduce waste and make your gift wrap more earth-friendly. You can go with a holiday print or color, but we also really love a neutral grey linen. It looks ultra sophisticated and natural at the same time, and you can change up the look by choosing different toppers.
Our favorite gift topper for this is a slice of dried orange or lemon. To make your own dried citrus toppers, slice an orange about ¼ inch thick and blot off any juice with a paper towel. Put the slices in the oven at about 200°F. You'll need to dry them for about three hours, but every 20-30 minutes, you should flip them over so they dry evenly.
Book Page Ornament Gift Wrap
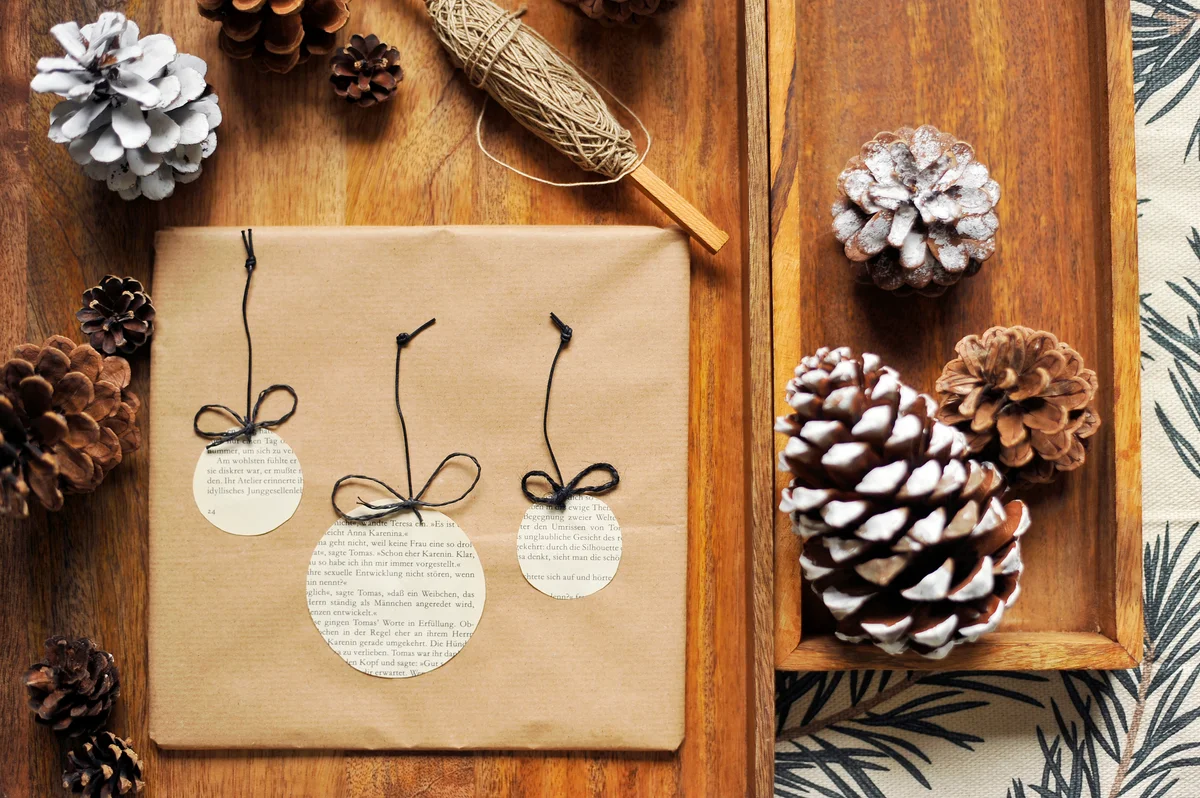
There are tons of great things to do with old books, but we love using them as gift wrap. You can wrap the whole present in the book pages. But to take things to the next level, cut out ornament shapes and glue them on as a decoration.
- To do this, you'll need some solid-colored wrapping paper. You can go neutral or classic red or green — whatever works for you. Wrap the gift.
- Then, cut the ornament shapes out of the book page.
- Glue them on with craft glue. Add a string or ribbon (hot glue is handy here).
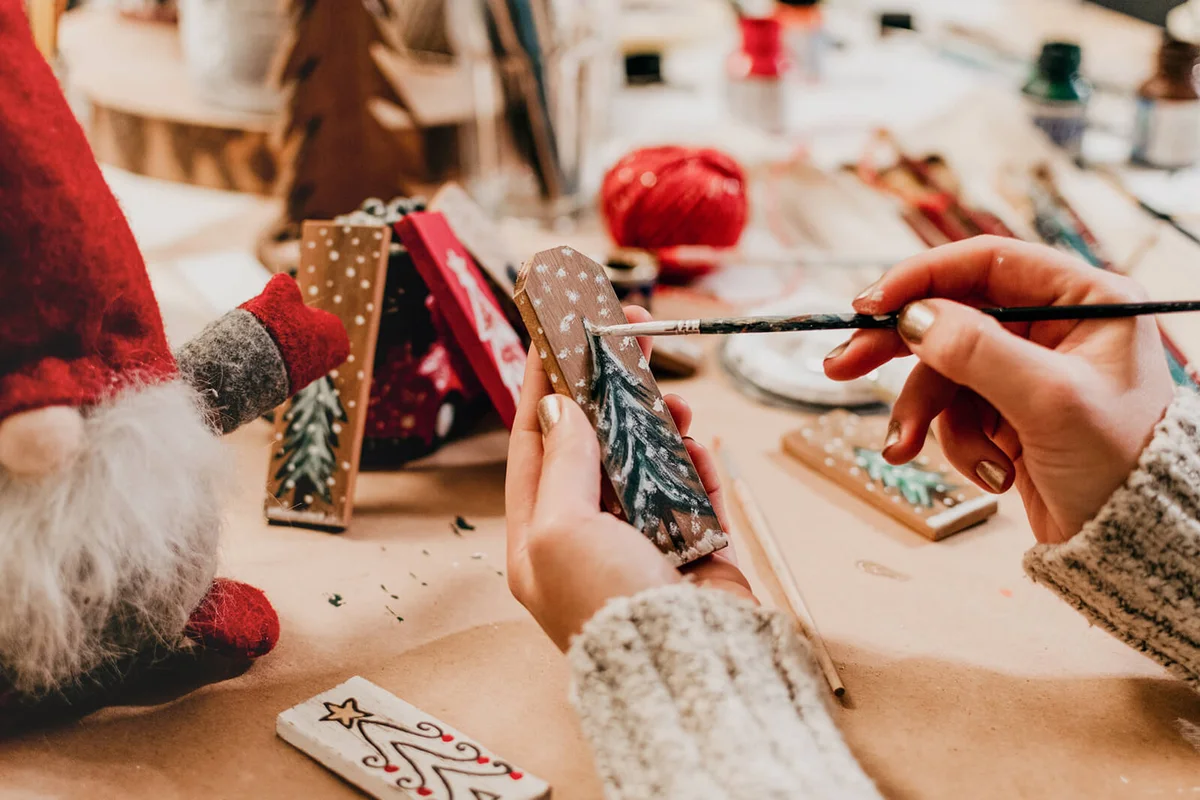
Potato Block Print Christmas Tree Paper
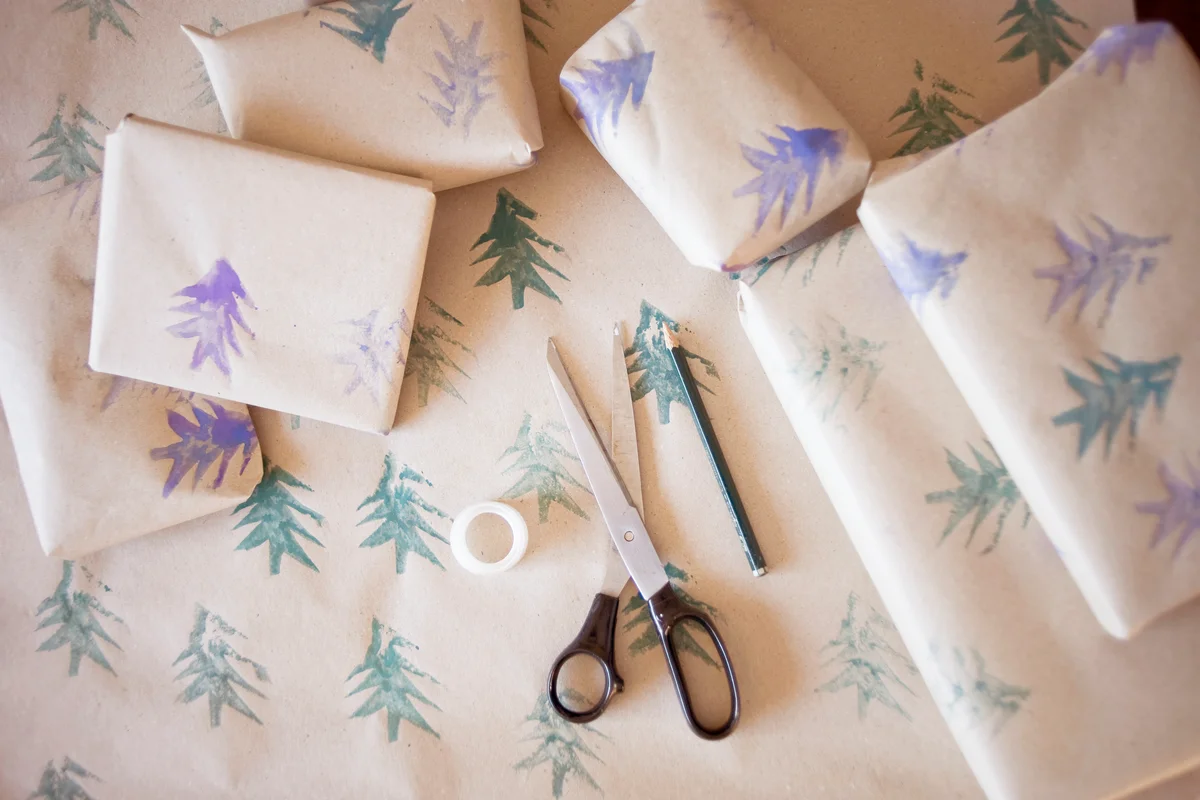
Remember using a carved potato as a stamp back in elementary school? Channel your inner kid and add a dash of sophistication for this super simple and pretty take on an old-fashioned craft.
Simply cut a potato in half and carve a Christmas tree into it. Then use the potato stamp to print the tree on simple craft paper. Stick with one color of ink or paint (we like acrylic craft paint, but be sure to blot off the excess).
Give a Little Holiday Work of Art

One of the best things about trying new Christmas gift-wrapping ideas is seeing how pretty your wrapped presents look under the tree. When you put as much thought into the wrapping as the gift itself, you'll feel proud to give something that's a little work of holiday art.