
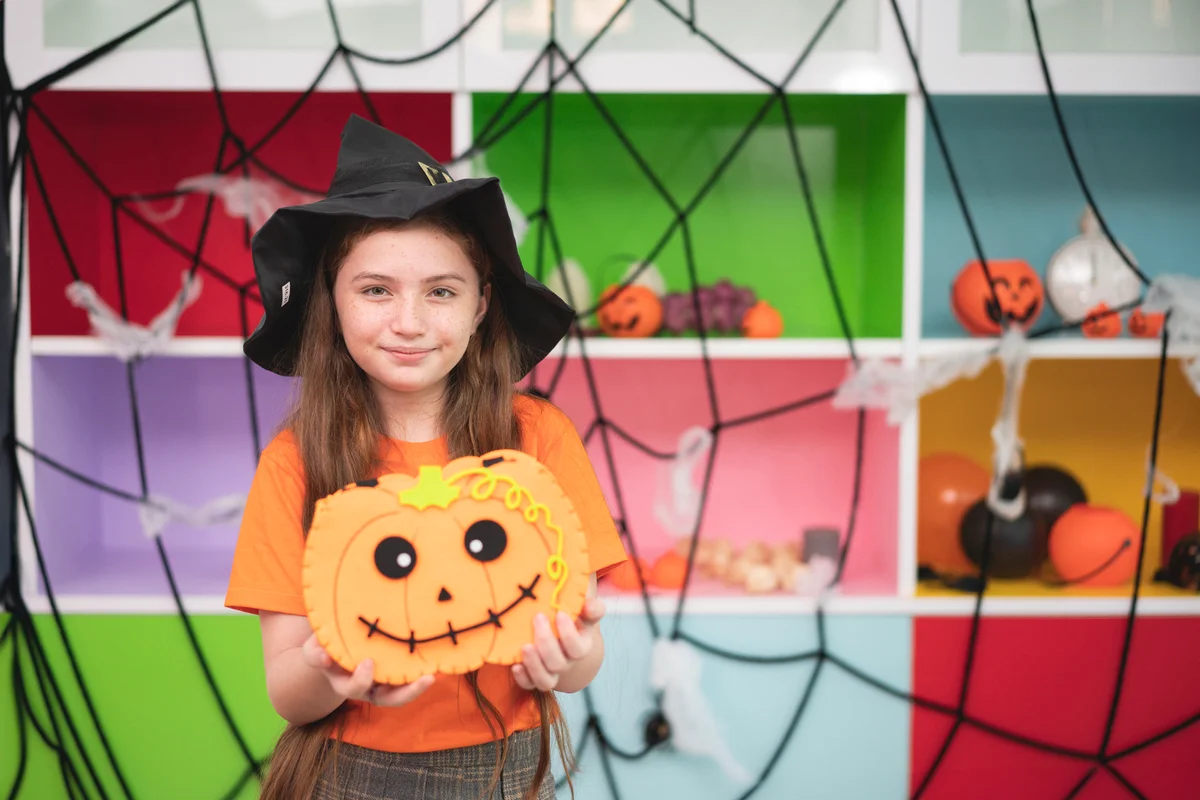
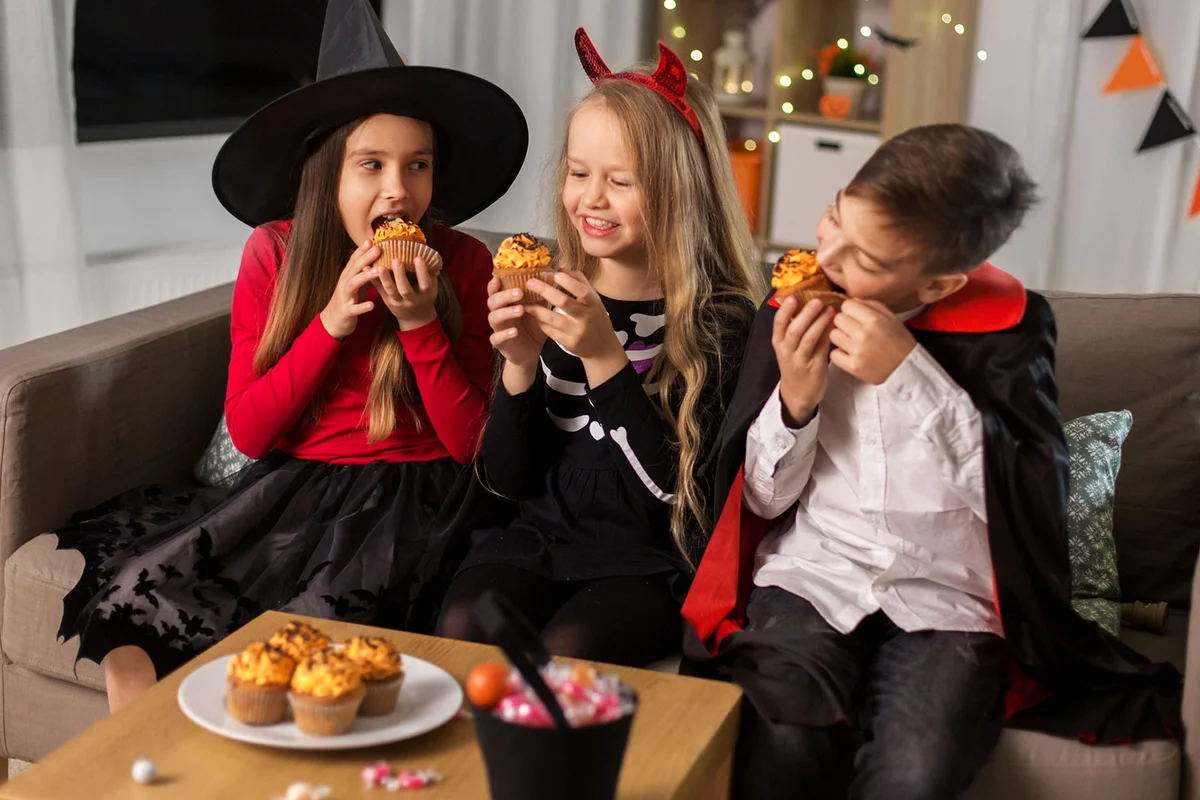
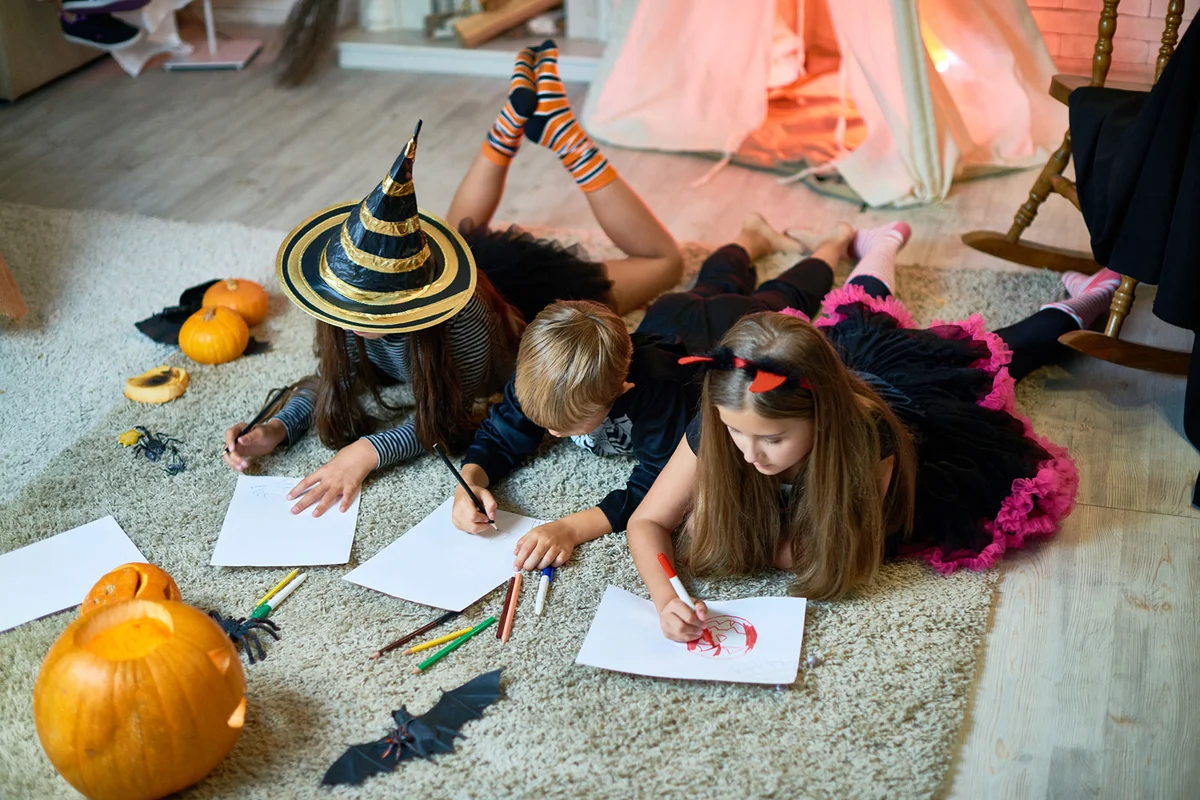
Once the trick-or-treating days are gone, your middle school child might be slightly less excited for spooky season. What you need are Halloween activities for middle school kids that remind them why they love this time of year so much. These art projects, crafts, and simple Halloween activities give your middle schooler something to celebrate around Halloween besides the abundance of candy.
Make These Spooky Fluorescent Spiderwebs
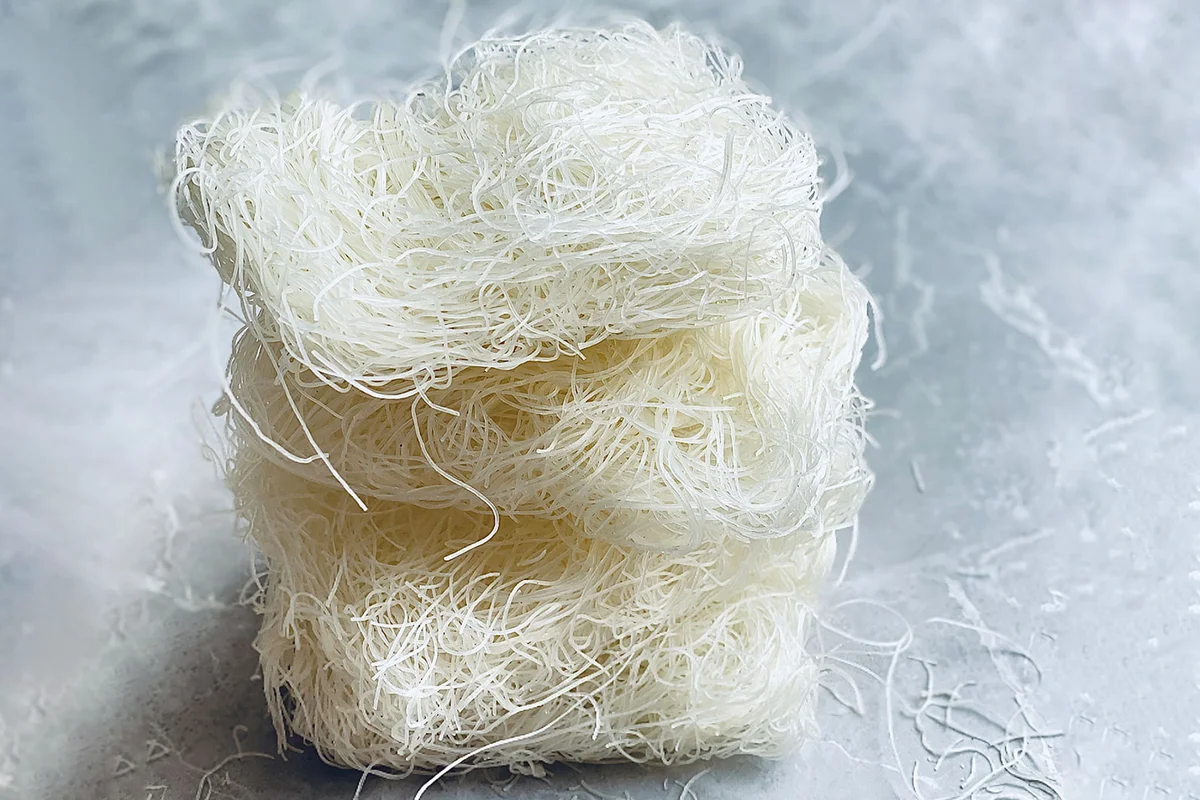
If you’re looking for some scientific Halloween crafts for your middle school child, this is one they’ve probably never seen. These slimy spiderwebs are gross and intriguing all at once. They don’t take much time to make, so they’re perfect for kids who don’t like to focus on one activity for too long.
Supplies
- Thin rice noodles
- One small container (big enough to hold all the noodles)
- One plastic tote bin
- Tonic water with quinine (most grocery store brands contain quinine)
- A black light
Directions
- Place the rice noodles into a small container and cover with tonic water. Let sit for about 15 minutes.
- Drain the noodles and place in the large tote bin. Add some plastic spiders if you’d like.
- Turn off the lights and switch on the black light to see the creepy glowing creation. Allow each student a chance to touch the ‘spiderwebs.’
Helpful Hack
For a more individualized approach, have each student use a small amount of the ingredients and a small bowl.
Have an Impromptu Costume Contest
Costume contests are fun no matter your age. If you have a class of middle schoolers, this out-of-the-blue Halloween costume activity engages their creativity and problem-solving skills. Set a timer and challenge your middle schoolers to create Halloween costumes quickly with the items around them. Here are a few variations of the game.
- Call out costume ideas rapid-fire style and challenge kids to create the look within 60 seconds.
- Include "must-use" items in each round like a pencil, a cup, or any others that are easy to find.
- Color code each round so they have to stick to one main color for each item they use in the room.
- Pair kids into groups of two or three, where one person is the model for the costume and the others gather items.
Helpful Hack
You can prep the space you'll be enjoying the activity in with a few traditional costume items — think fake mustaches, hats, and large pieces of fabric — to make the process a little easier.
Gain Major Cool Points With Candy Corn Catapults
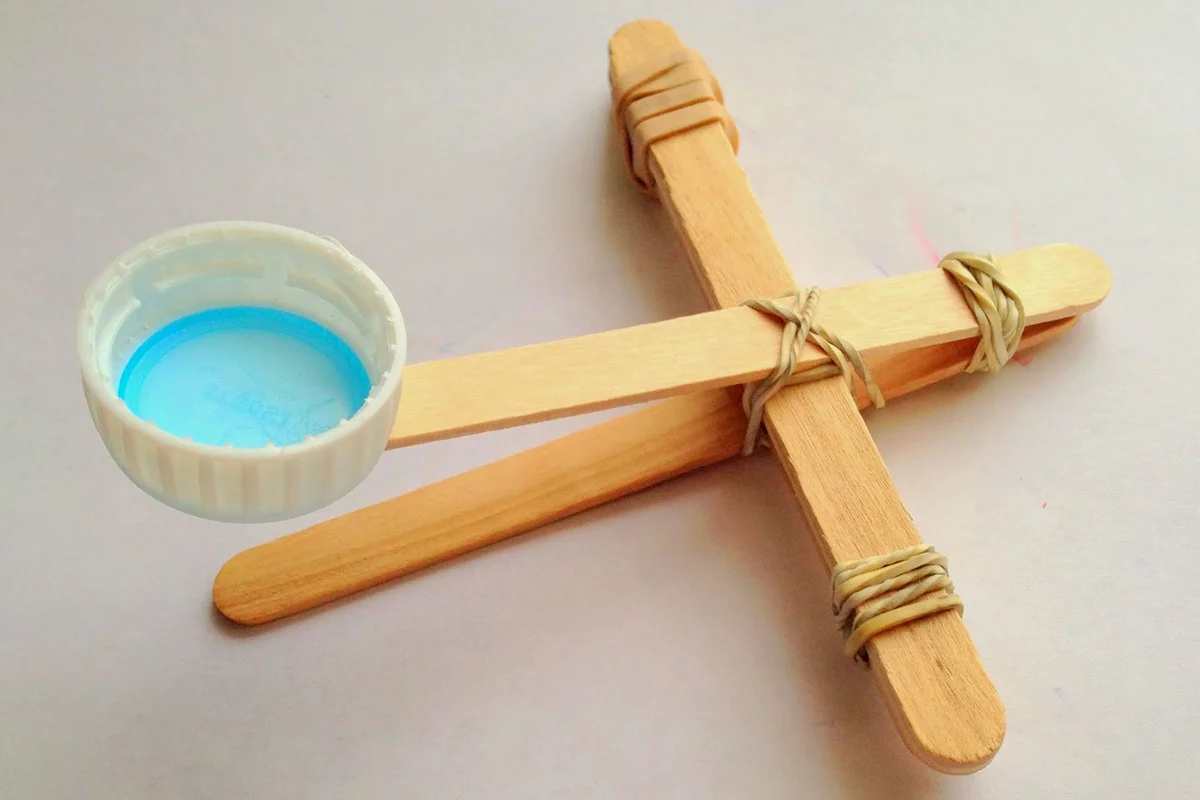
Kids of all ages find endless amounts of fun in launching objects across the room or at each other. You can use a catapult to launch things in a distance contest, to show skill in aiming, or for speed and dexterity. Students will learn engineering skills while creating a custom catapult and have fun flinging Halloween treats.
Supplies
- Craft sticks (at least seven per student)
- Rubber bands (at least four per student)
- A plastic cap like those from a gallon of milk or Gatorade bottle
- Permanent markers (optional)
- Glue
- Candy corn (or other small Halloween candy)
Directions
Kids can follow the specified instructions described here, or experiment with the materials to create their catapults.
- If kids would like, they can decorate and customize each of the seven craft sticks using the markers. Allow a few seconds to dry.
- Begin by stacking five craft sticks, one on top of the other, with flat sides together. Use one rubber band to secure each end of the completed stack about one-half inch from the end.
- Take the remaining two craft sticks and stack them in the same manner as before. Use one rubber band to secure one end of the stack, taking care to wrap the rubber band close to the end of the sticks.
- Open the two-stack of sticks and insert the five-stack about one-half to one inch from the rubber band holding the two-stack together.
- Use the last rubber band to hold all seven sticks together where they meet.
- Glue the cap upside-down onto the end of the top stick on the opposite side of where the two-stick stack is held together. Let this dry.
- Load a candy corn into the cap. Push on the cap and release to launch the candy.

Make Homemade Horror Movies
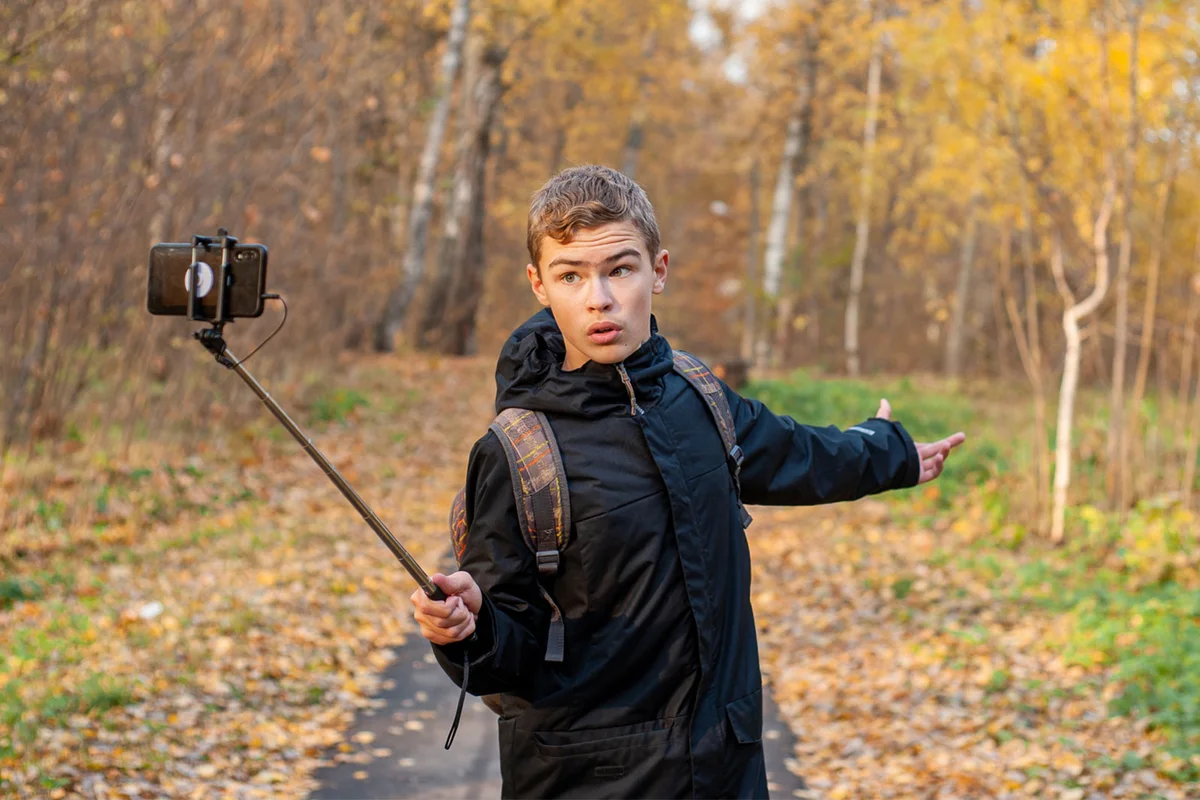
Middle schoolers are known for having a dramatic flair. Making a movie will be fun, educational, and play to their theatrical strengths. You can take the traditional route and create an original horror film or use a simple animation game like this one from ABCya.com. Making a movie using a digital camcorder will require a team effort.
Supplies
- Props
- Costumes
- Backgrounds
- Digital camera or camcorder
Directions
- Kids should brainstorm to come up with an original plot for the short film.
- Once a concept is selected, choose the best writers in the group to create the screenplay or script.
- Delegate roles to the rest of the group including costume designers, camera operator, location scouts and people to gather props.
- Once the screenplay is written, a location is secured and costumes have been found, it is time to rehearse the film.
- Using a digital camcorder, students can begin filming.
- After filming is complete, you will need to use the software that came with your camera to edit the movie.
- You are now ready to host a showing to see how all this hard work paid off!
Fast Fact
You can work together with smart phone cameras to create scenes and clips for the movie and edit them together once filming is complete.
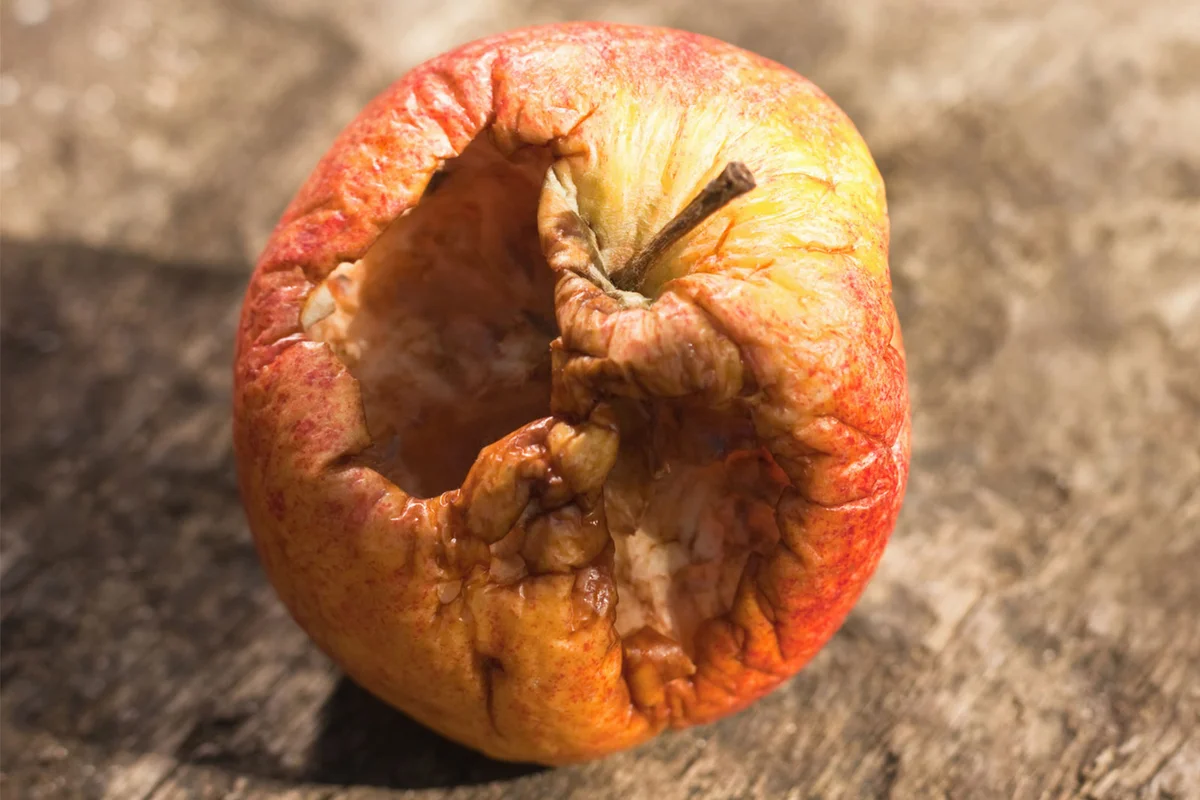
Try Your Hand at Mummified Fruit
There are few things more motivating to middle graders than food. Activities that incorporate light snacking during the process can encourage participation.
Supplies
- Small apple
- Small cups
- Knife
- Baking soda
- Table salt
Directions
- Cut the apple into quarters. Place each quarter in a small cup.
- Mix ⅓ cup of baking soda and ⅓ cup of salt together for each piece of fruit.
- Pour the mixture over the apple and leave uncovered, out of sunlight, for about one week.
- After one week, examine the fruits to see how they have been preserved. This is a great time to examine principles of dehydration.
Need to Know
Kids shouldn't eat the mummified fruit, but snacking on spare ingredients is totally fine.
Teach Kids About Genetics With a Monster-Making Game
Here's a fun way to get kids interested in the science of genetics while engaging their Halloween creativity. This activity from Continually Learning offers students the opportunity to create their own little monster baby while understanding how genes and chromosomes work.
Quick Tip
You can also have your students make small clay versions of their monster babies to add an artistic element to this activity.
Experiment With Candy Corn

Dissolving candy corn in a wide range of liquids might not sound like the most exciting thing ever, but your middle schoolers will get a kick out of it for sure. Here's how to set up this fun guessing game activity.
Supplies
- 1 bag of candy corn
- 1 cup water
- 1 cup vinegar
- 1 cup oil (cooking oil or baby oil works here)
- 1 cup rubbing alcohol
- 1 cup sparkling water
Directions
- Before beginning, have kids write down what they think will happen to the candy corn in each liquid (or how long they think it will take to dissolve in each liquid).
- Work your way through adding candy corn to each of the liquids and set timers for each to measure the progress.
- Have kids reveal how close they were to guessing correctly with each liquid.
Fast Fact
You can set this up for individual kids or partners or demonstrate the experiment with everyone.
Solve a Halloween Mystery

Getting in the Halloween spirit means embracing the love of all things mystery. This activity is a great way to celebrate the season and use some serious problem-solving skills. You can make up your own mystery, complete with suspects and clues. You might also try a few of these ideas:
- Try a "Who Did It" problem solving game.
- Use this printable to create a detective game.
- Get kids involved in this creative case study.
Build a Bone Bridge
If you're looking for Halloween-themed STEM activities, this one is too cute to pass up. This "bone bridge" building activity from Feel Good Teaching is perfect for working in groups and encouraging an interest in STEM innovations. Inspire young minds with this reminder of how fun and challenge can coexist.
Read More
Learn About Rehydration With Zombie Raisins
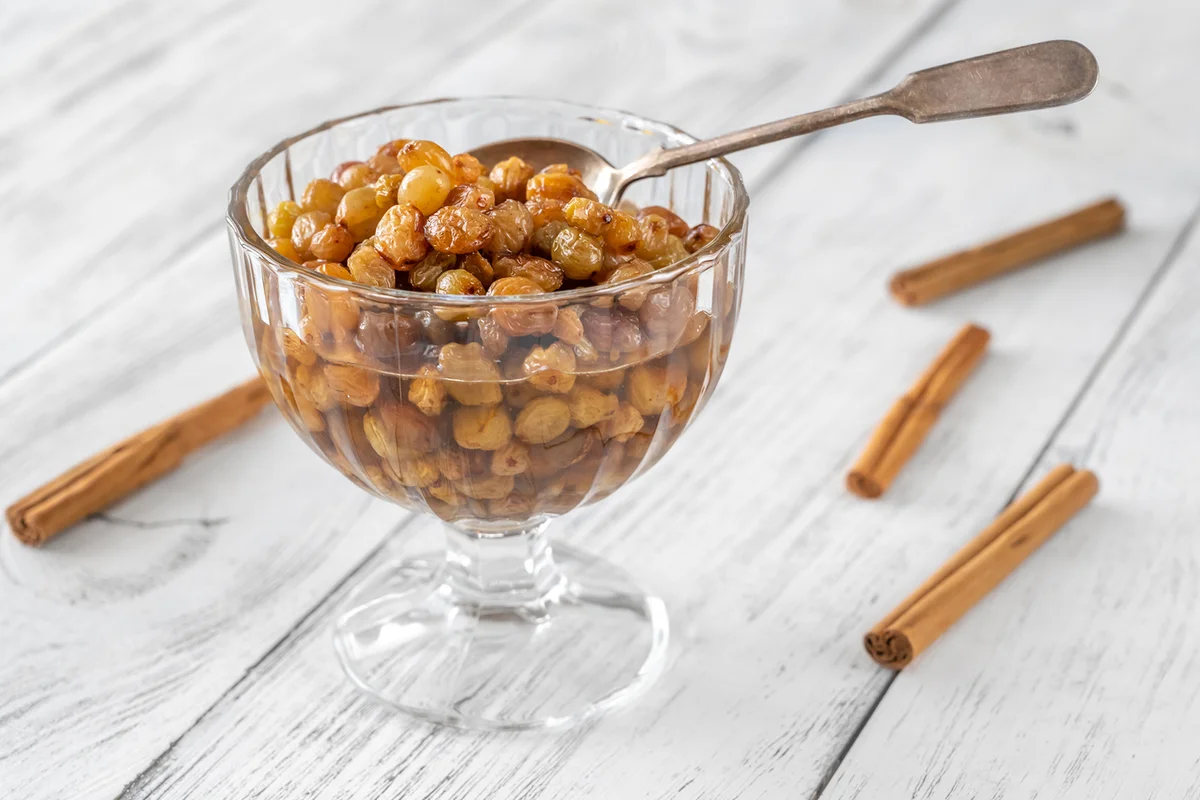
Zombies have come back from the dead, but not completely. This is the same concept in creating zombie raisins. You can rehydrate a raisin, but only to a certain extent. The result of this simple project is edible undead grapes.
Supplies
- Bowl with cover
- Water
- Raisins
- Strainer
Directions
- Boil enough water to cover the raisins completely.
- Pour the raisins into a bowl and cover them with boiling water.
- Cover the bowl and wait five to ten minutes.
- Strain the raisins, and you now have zombie grapes. Eat them before they eat you.
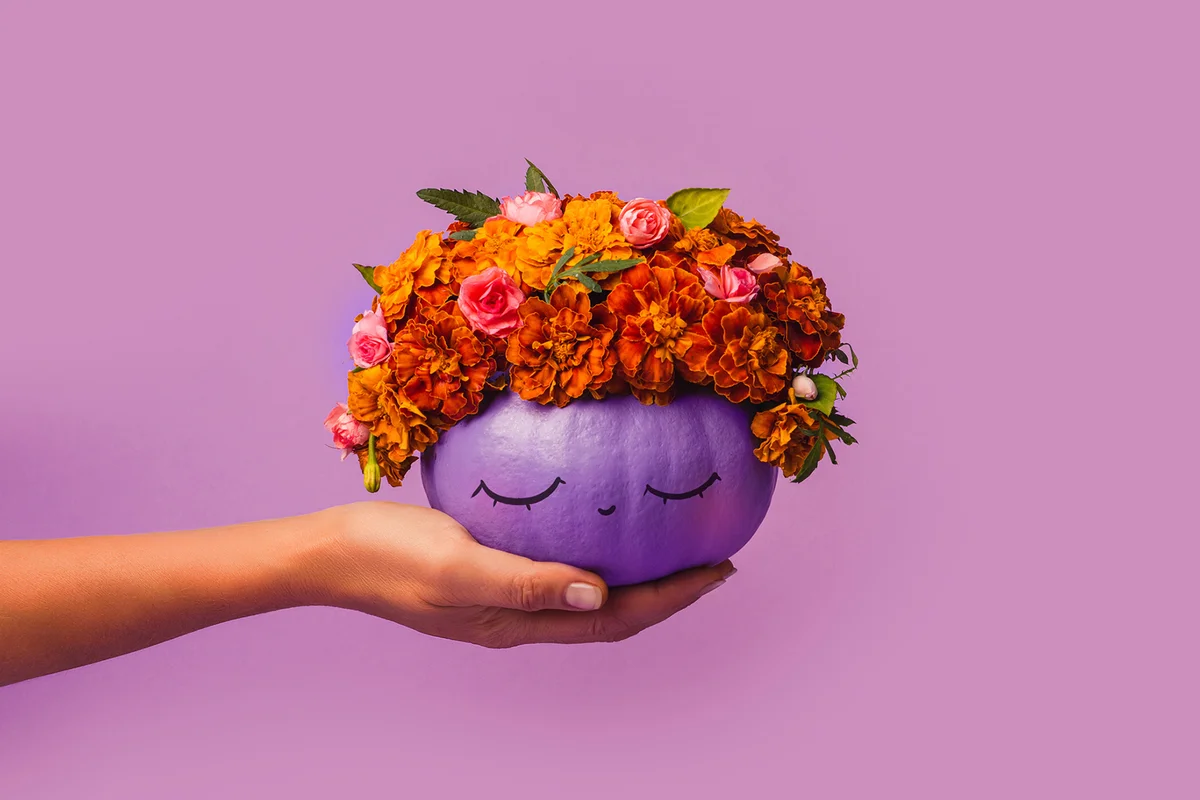
Dip-Dye Mini Pumpkins
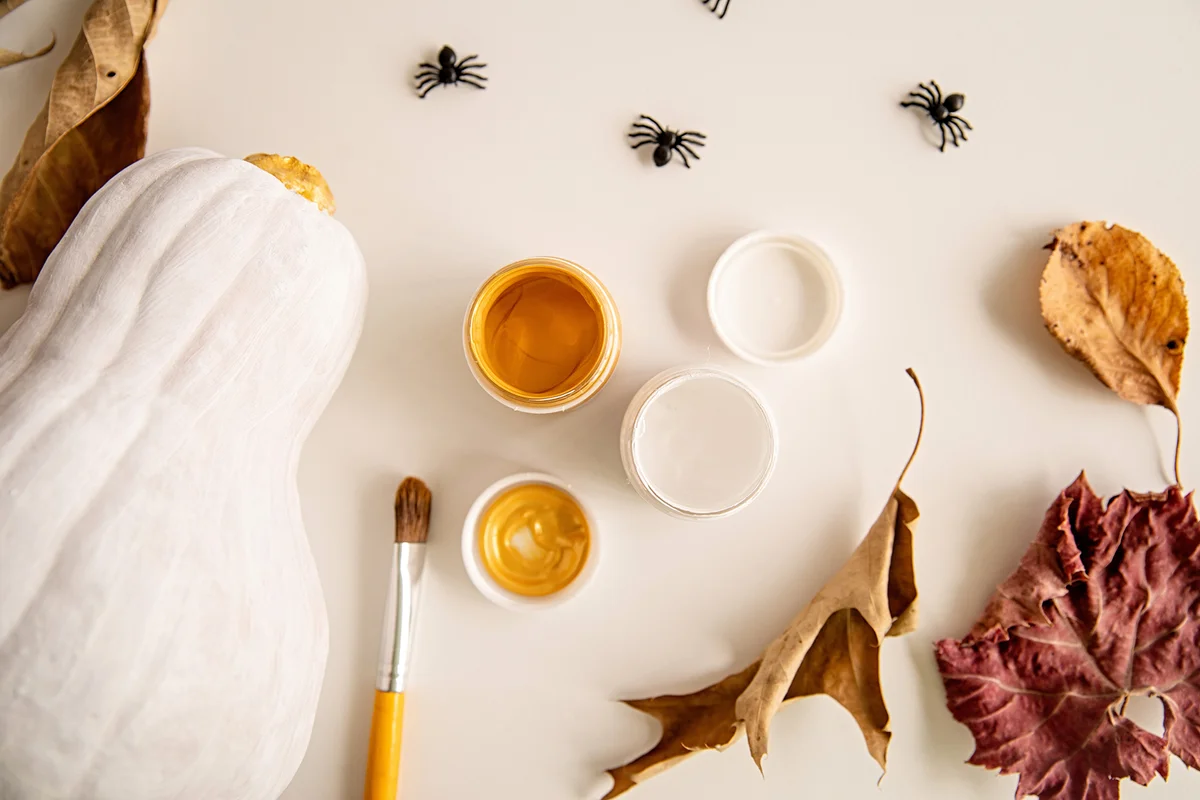
This Halloween activity speaks to your creative side. Dip dying mini pumpkins is just plain fun and leaves you with a cute seasonal decor item that's totally personalized to each child's style.
Supplies
- Plastic bins
- Water
- Mini pumpkins
- Nail polish in various colors
- Cotton swabs
- Nail polish remover
Directions
- Add water to your bins.
- Drizzle the nail polish over the surface of the water. To get the polish to stay on the surface, drizzle it from a close distance.
- Use a cotton swab to swirl the colors together and create a marble effect.
- Slowly dip your pumpkin into the water until it's coated.
- Gently lift the pumpkin straight up out of the water.
- Use a cotton swab and nail polish remover to remove any unwanted paint.
- Let your pumpkin dry completely to reveal your personalized design.
Make Spider Web Slime
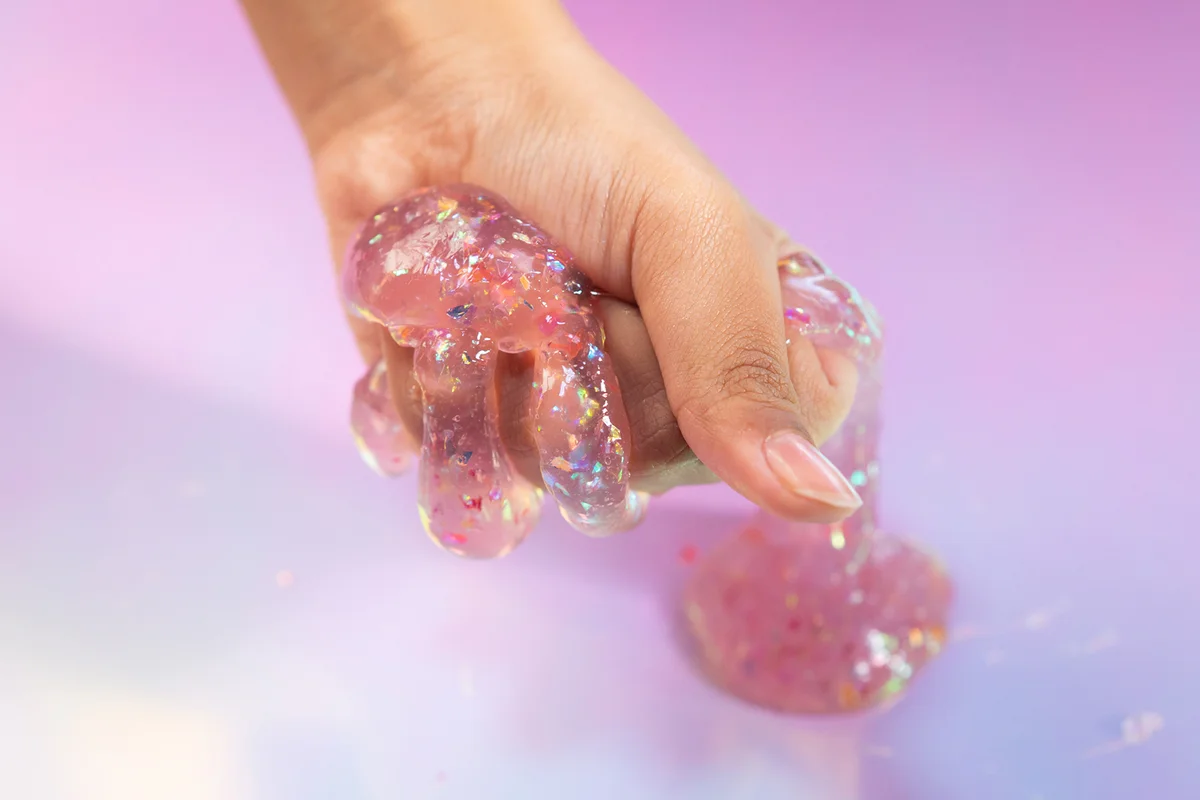
Making slime is a rit3 of passage in childhood, and this version gets extra points for being downright creepy and gross. Spider web slime is fun to make and even more fun to play with, so it's a hit with tweens. My Joy Filled Life has this spider web slime tutorial to help you make the creepy craft with confidence.
Make a Pumpkin Explode
Kids should only do this activity with adult supervision, but it's honestly just as fun for grownups as it is for middle schoolers. Making pumpkins explode is a blast, and it's fairly easy to do. All you need is a pumpkin and as many rubber bands as you can possibly find. Kids should wear goggles for eye safety.
- Start by having everyone guess how many rubber bands they think it will take to make the pumpkin explode.
- Begin wrapping rubber bands around the pumpkin, making sure to place them around the center.
- Continue layering rubber bands until you think the pumpkin is close to cracking.
- At this stage, take extra caution with each new rubber band you place around the pumpkin.
- Eventually, the pumpkin will split and "explode."
Shoot Off Ghost Rockets
Here's the truth: if it looks anything like an explosion, middler schoolers will love it. That's why these ghost rockets will be a hit as your next Halloween project. These rockets are driven by a corn starch and Alka-Seltzer mixture that sends them flying high almost immediately. Growing a Jeweled Rose has all the tips on getting these exploding ghost rockets to take off successfully.
Make Halloween Fun Again
As we grow up, Halloween starts to lose that special charm it once held for us. But with these activities, your middle schooler can hold on to that charm a little longer. Learning that Halloween is fun, even without all the candy, is just a part of growing up. With these fun activities, Halloween can still be a season of making special childhood memories.