
Besides displaying photos and paintings, there are lots of ways to repurpose old picture frames for fun and creative vintage style. From outdoor welcome signs to practical storage solutions, you can make use of vintage and antique picture frames in your home with these cool ideas.
Repurpose an Old Picture Frame as a Chalkboard Tray
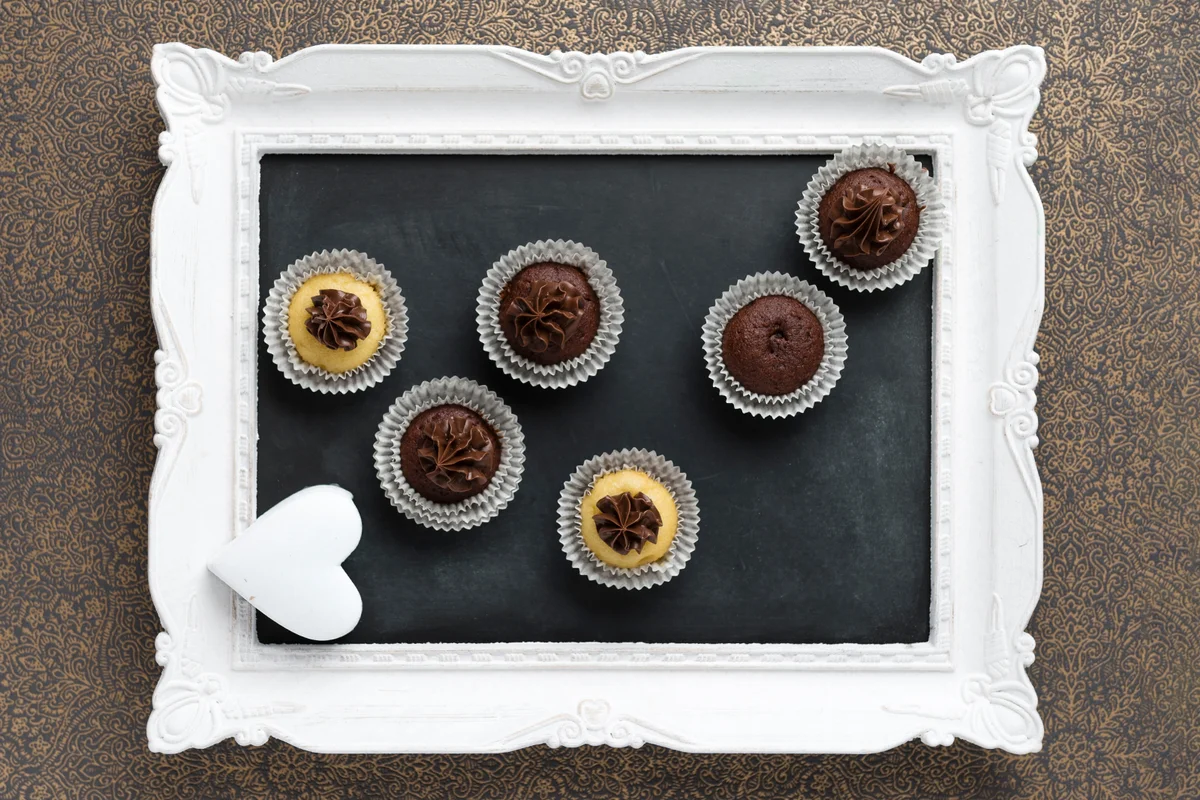
If you have a vintage or antique picture frame that's in bad shape, take some time to turn it into a tray for serving treats or snacks.
This simple project just requires a little paint, some nails or screws, a piece of wood, and some glue.
Here's how to do it:
- Cut a piece of 1/4-inch plywood to fit inside the picture frame. Sand the surfaces until they are smooth.
- Prime the wood with latex primer on one side using a foam roller to give it a smooth surface. Allow the primer to dry according to the manufacturer's instructions.
- Use another foam roller to apply chalkboard paint to the wood. It may take multiple coats, depending on the type of paint and color you choose.
- While you're waiting for the chalkboard paint to dry, use a can of spray paint in your chosen color to paint the frame. Make sure it is clean and dry before painting. This may take multiple coats.
- Once everything is dry, fit the chalkboard to the frame. Use nails or small screws to attach it securely.
Make a Planter From a Picture Frame
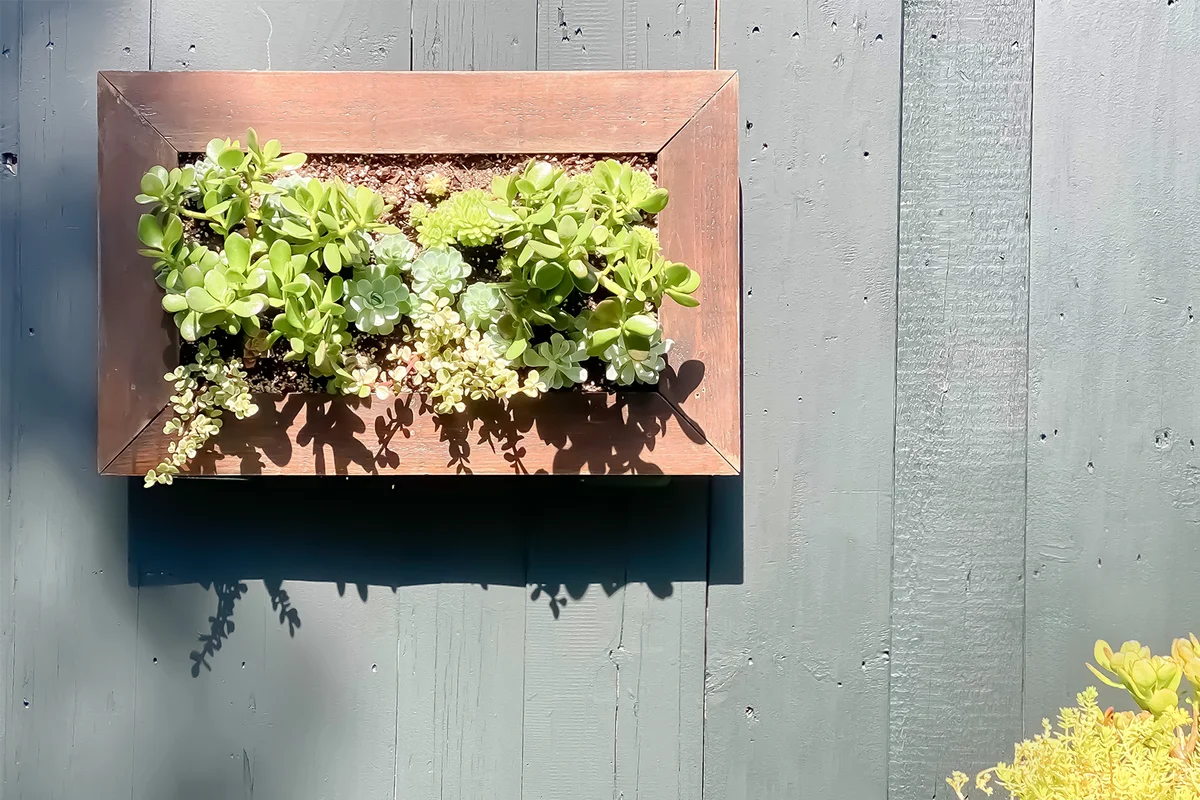
You can repurpose old picture frames to creature unique planters for your deck or patio. This is a wonderful way to frame your favorite plants to show them off, and it's an easy project for an afternoon. Choose an old frame that you won't worry about the weather destroying, since it will be exposed to the elements. There are a couple of ways to create a picture frame planter:
- Repurpose an old frame that's the same size as a rectangular planter you already have or build a simple box planter to fit the frame. The frame should rest on the planter, giving a finished edge and setting off the beauty of the plants within it. If you choose to make the planter box, simply cut the pieces of wood in dimensions to match the frame and nail or screw them together.
- Use construction adhesive to attach the frame to the top edge of the planter. Run a bead of the adhesive along the raw planter edge and carefully place the frame on top. As it dries, weigh it down with something heavy, such as books or bricks.
- When the planter is dry, fill it with soil and plant flowers, succulents, vegetables, or anything else in it.
A fun variation is to make this a vertical hanging planter that you can put on a fence or the patio wall.
Create a Repurposed Picture Frame String Display
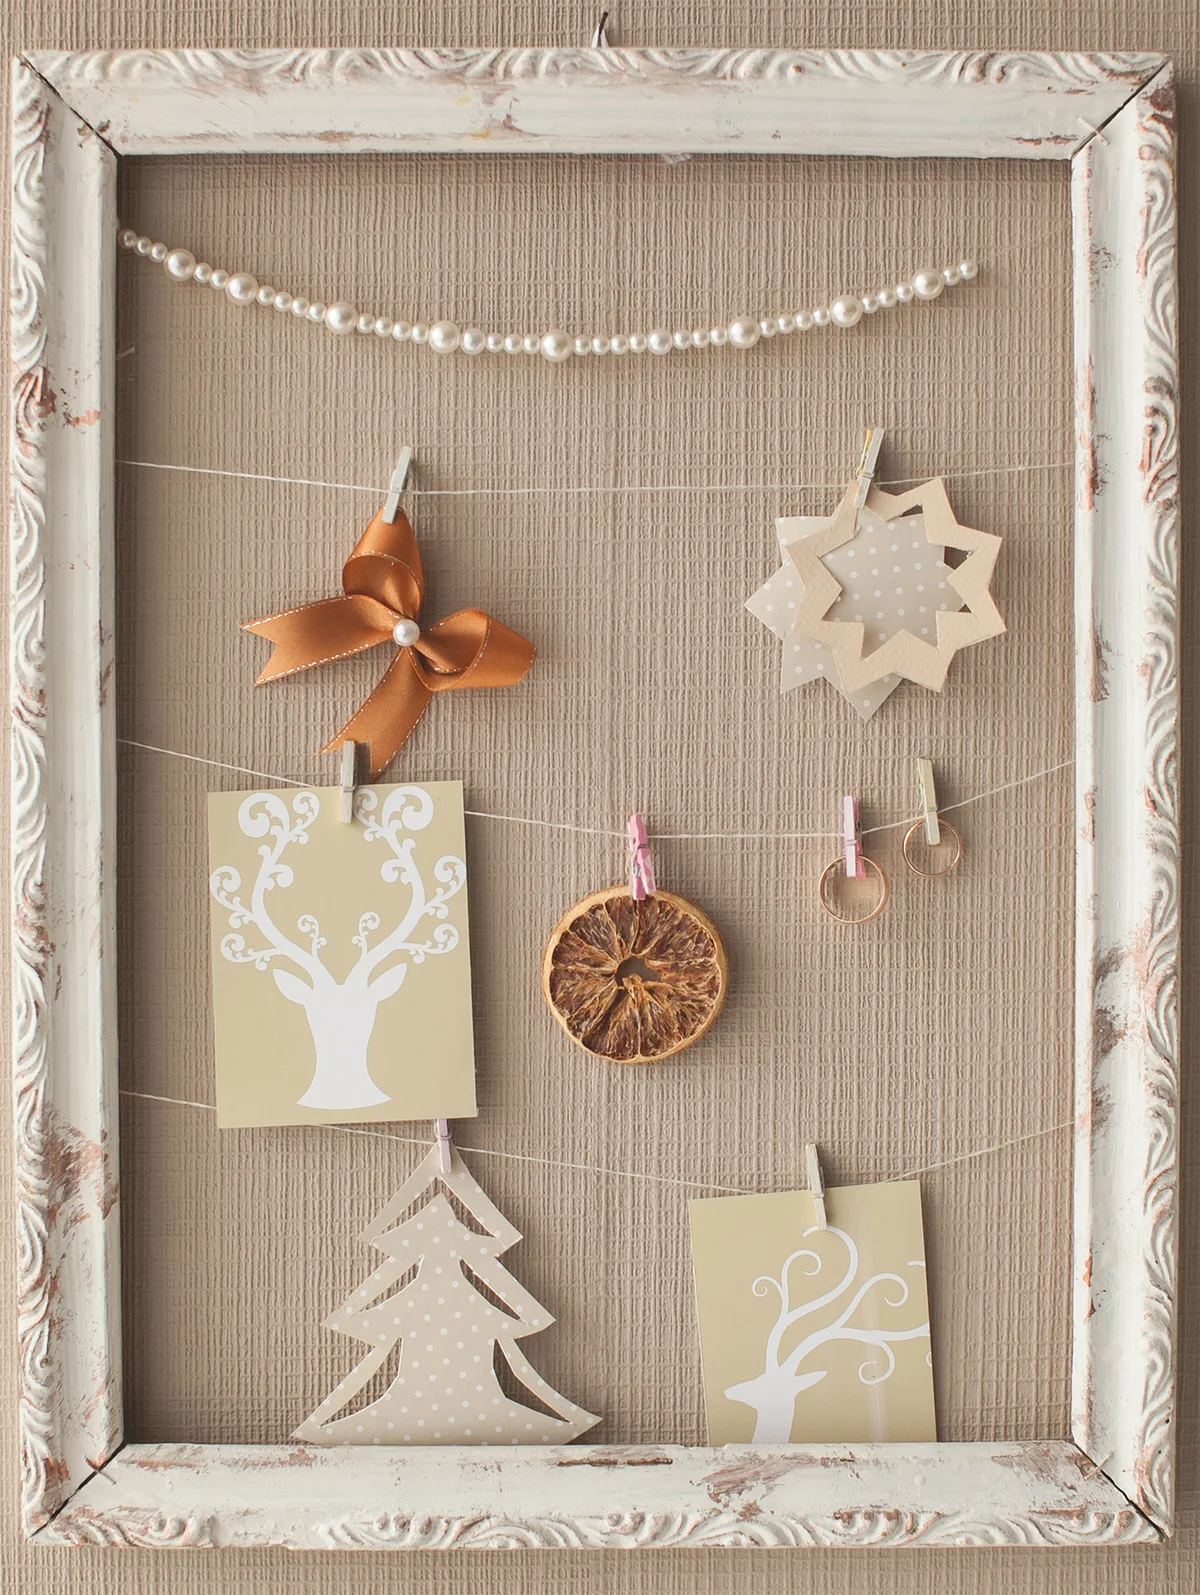
You can also repurpose an old frame as a display for Christmas cards, notes, valentines, photos, or any other type of memorabilia. This simple project requires only an old frame, some nails, string, and a few mini clothespins. If you don't like the color or style of the frame, you can paint it as well.
- Pick a picture frame you like and remove the glass and backing. You can repaint the frame if you wish.
- Carefully hammer small nails into the back of the frame on each side, spacing them about six inches apart.
- Tie string to the nails to create horizontal strings for hanging memorabilia.
- Add some mini clothes pins or other clips and hang the repurposed picture frame on the wall to display your treasures.
Show off Your Collection of Antiques
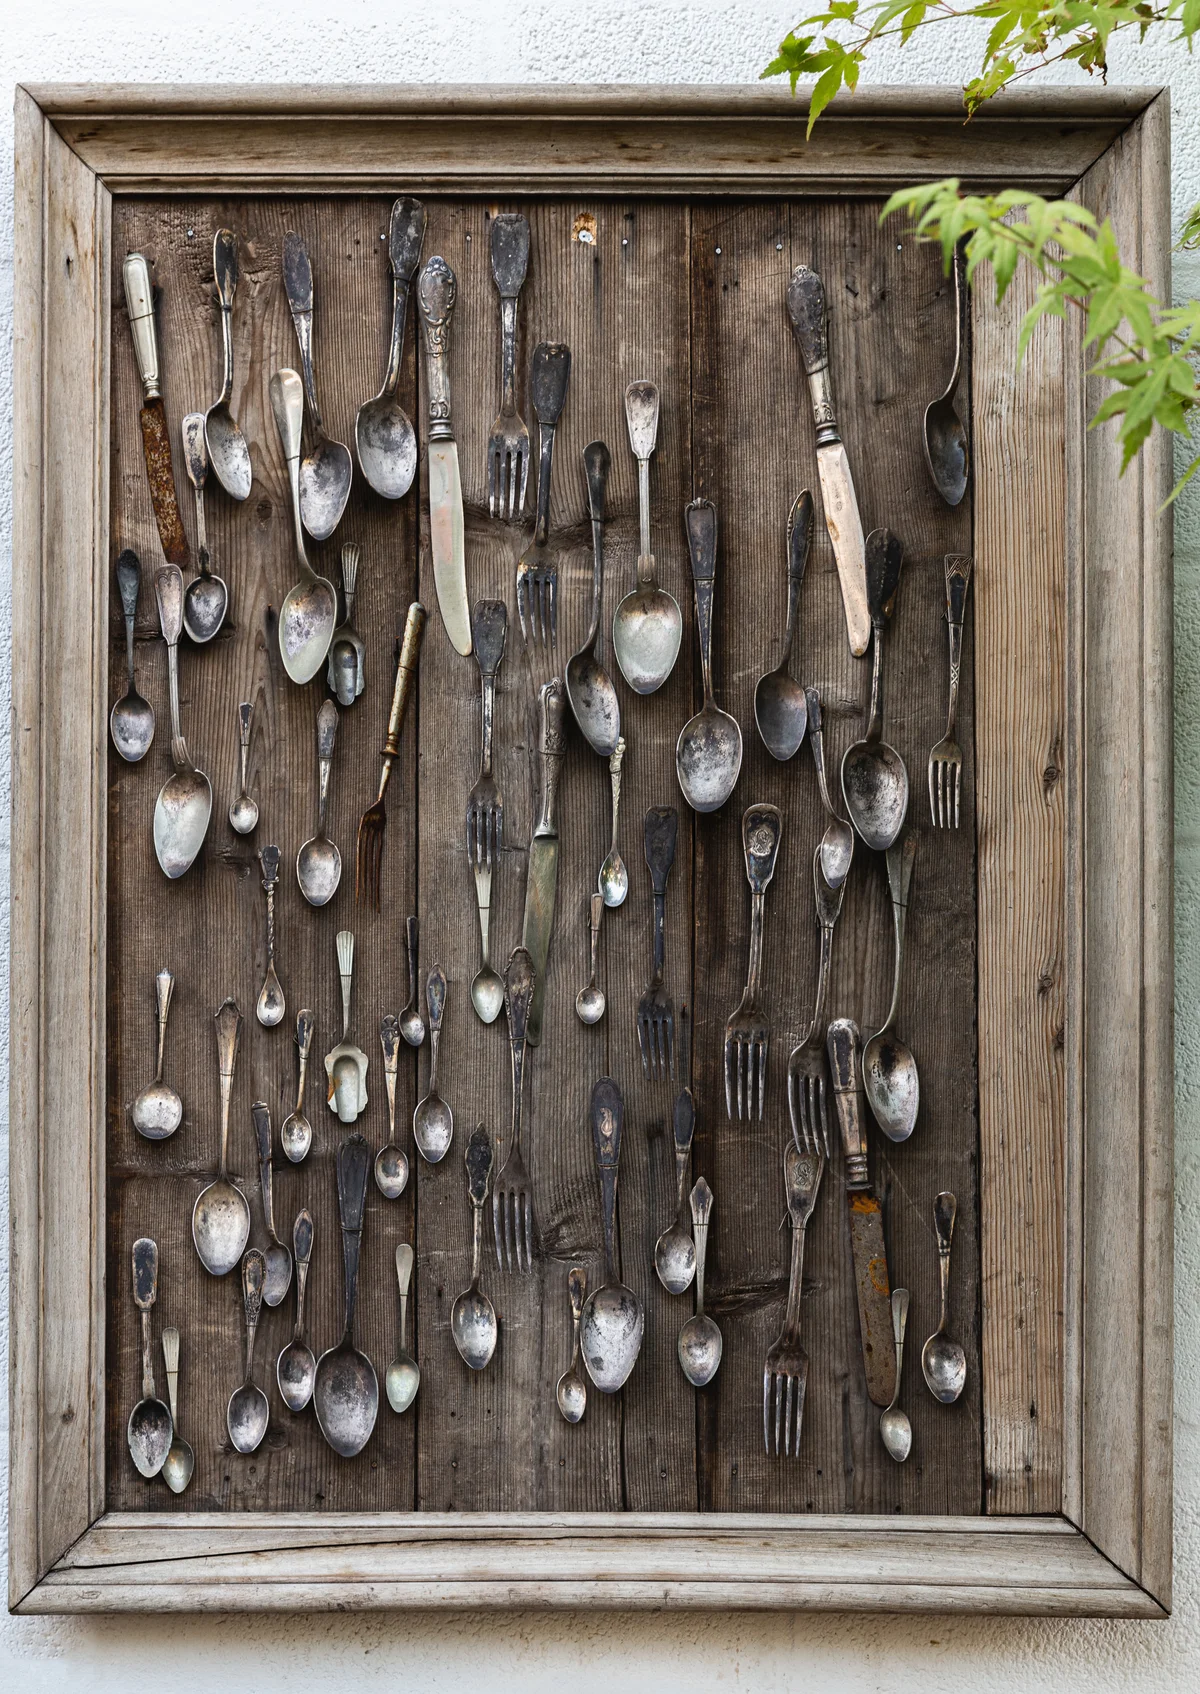
If you collect small antiques like buttonhooks, silverware, embroidery scissors, hand tools, or anything else, you can create a wonderful display for your collection using an old picture frame. In addition to the frame, you'll need some weathered wood, a drill, some screws, and some wire.
- Cut a piece of weathered wood to fit the opening of the frame. It's best to choose something around 1/4 inch in thickness, since the display can become too heavy if you use thicker wood.
- Fit the wood to the frame and attach it with small screws. You'll want to pre-drill the holes to keep the wood from splitting.
- Lay the frame flat on your work surface and arrange your collection on it. Use a pencil to mark where you would like to attach your antiques and collectibles with wire.
- Drill the wood with a small drillbit in the spots you marked.
- Place each collectible on the board and use wire to hold it in place through the holes you drilled. When you're done adding items from your collection, hang the frame on the wall.
Repurpose a Vintage Frame to Store Earrings
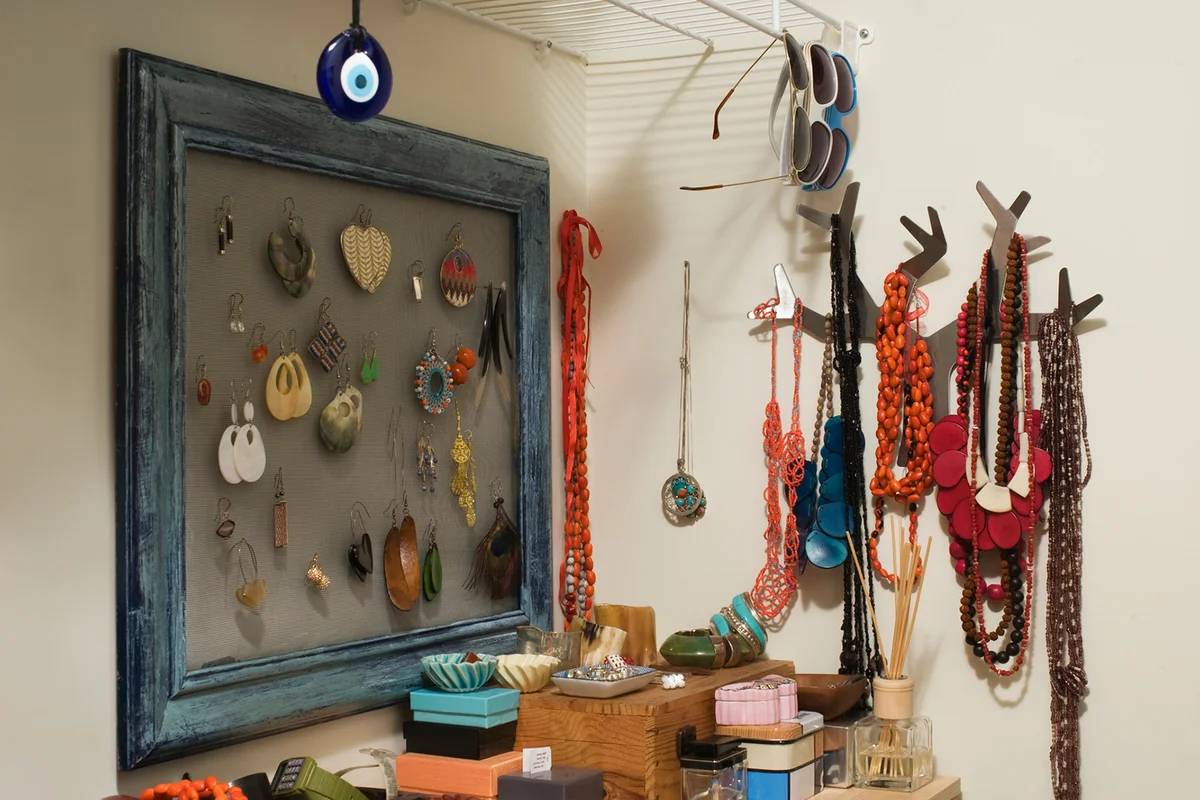
Earrings can be difficult to organize in your jewelry box, so storing them hanging on a repurposed picture frame is a great way to show them off and keep them organized at the same time. This is an excellent use for a vintage picture frame, and it can give your bedroom or closet some flair.
- Choose an antique or vintage picture frame that has a back.
- Cut a piece of colored fabric to fit inside the picture frame.
- Cut a piece of screen to the same dimensions.
- Place the frame face down on your work surface. Layer the screen, fabric, and backing, and close the back of the frame.
- Hang the frame on the wall and hook earrings through the screen to display them.
Turn a Bouquet Into a Three-Dimensional Still Life
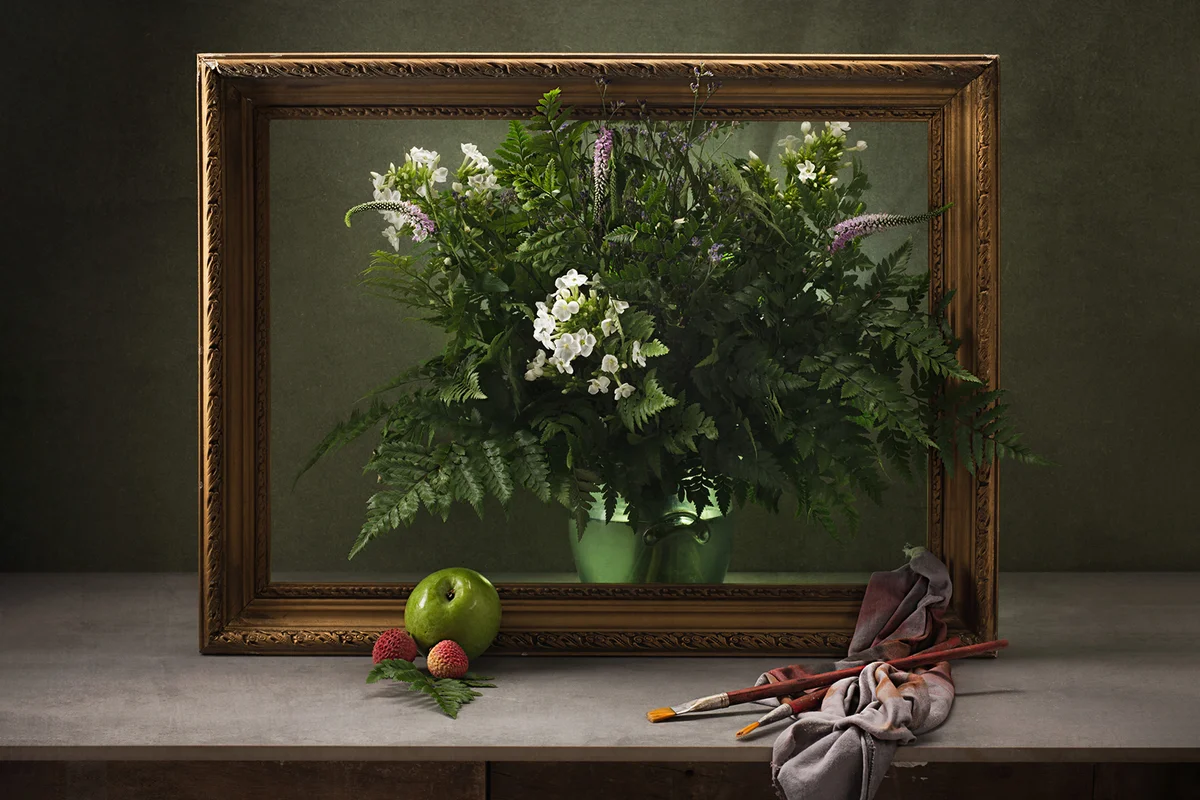
A still life is a beautiful painting or photograph that often features flowers. You can make a three-dimensional still life with an old picture frame. This is a wonderful way to create a focal point display in your living room.
- Remove the glass and backing from an antique picture frame.
- Place a bouquet on a surface like an old dresser or your mantel. Add some other elements like antique bottles, pretty ribbons, a teacup, or anything else you like.
- Lean the frame against the wall, allowing it to surround the bouquet and other items and draw attention to your display.
Repaint a Picture Frame to Create a Bulletin Board
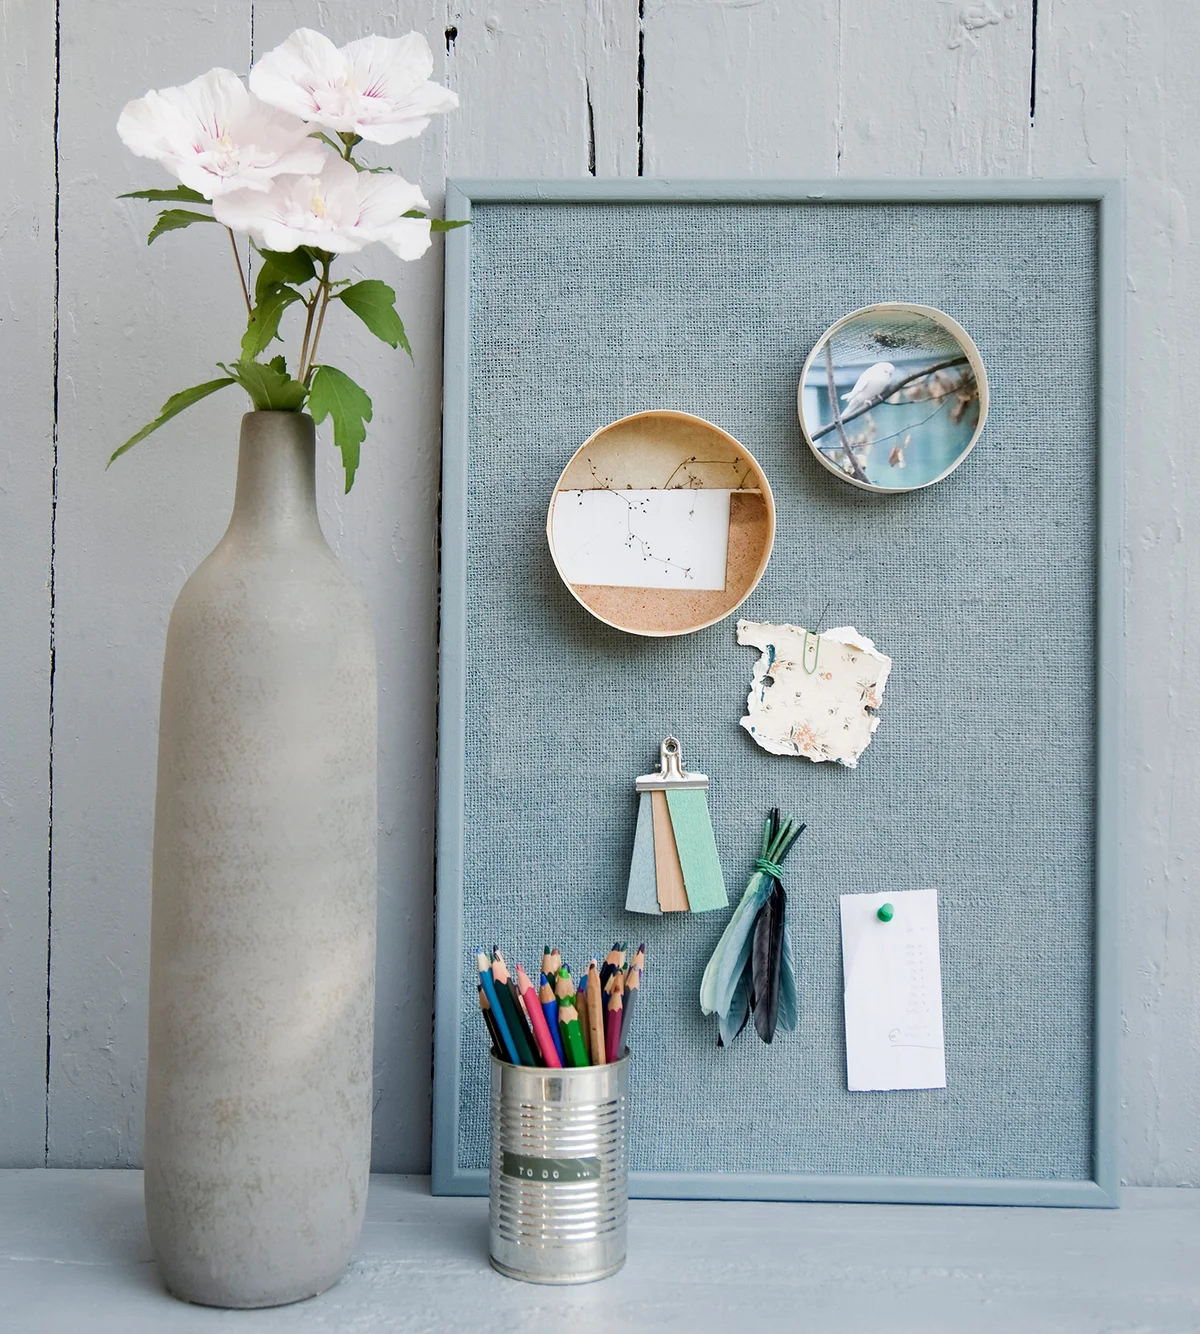
When you repurpose old picture frames, ideas often include repainting the frame to match your decor. This is an easy process that simply involves giving the frame a good cleaning and a few coats with a can of spray paint. To make your old frame into a color-matched bulletin board, you'll need to grab that spray paint, some fabric, and a piece of adhesive cork board.
- Choose a frame with a backing. You should pick a frame that's vintage but not antique, since you'll be repainting it for this project.
- Pick matching fabric and spray paint in your chosen shade.
- Clean the frame and make sure it doesn't have any dust. If the surface is smooth, give it a quick sanding with medium grit sandpaper to help the paint stick.
- Apply spray paint to the frame in a well-ventilated place. Use light coats, keeping the amount of paint even as you work. Plan to apply at least two coats of paint.
- While the frame is drying, cut the adhesive cork to fit the inside of the frame. You can remove the back, lay the frame on the cork, and trace around the inside.
- Stick the cork to the backing of the frame so it fits inside the opening.
- Place a piece of fabric over the cork and fit the back on the frame. Make sure the fabric is taut and doesn't have any wrinkles.
- Use push pins to attach items to your new bulletin board.
Make an Outdoor Blackboard or Welcome Sign
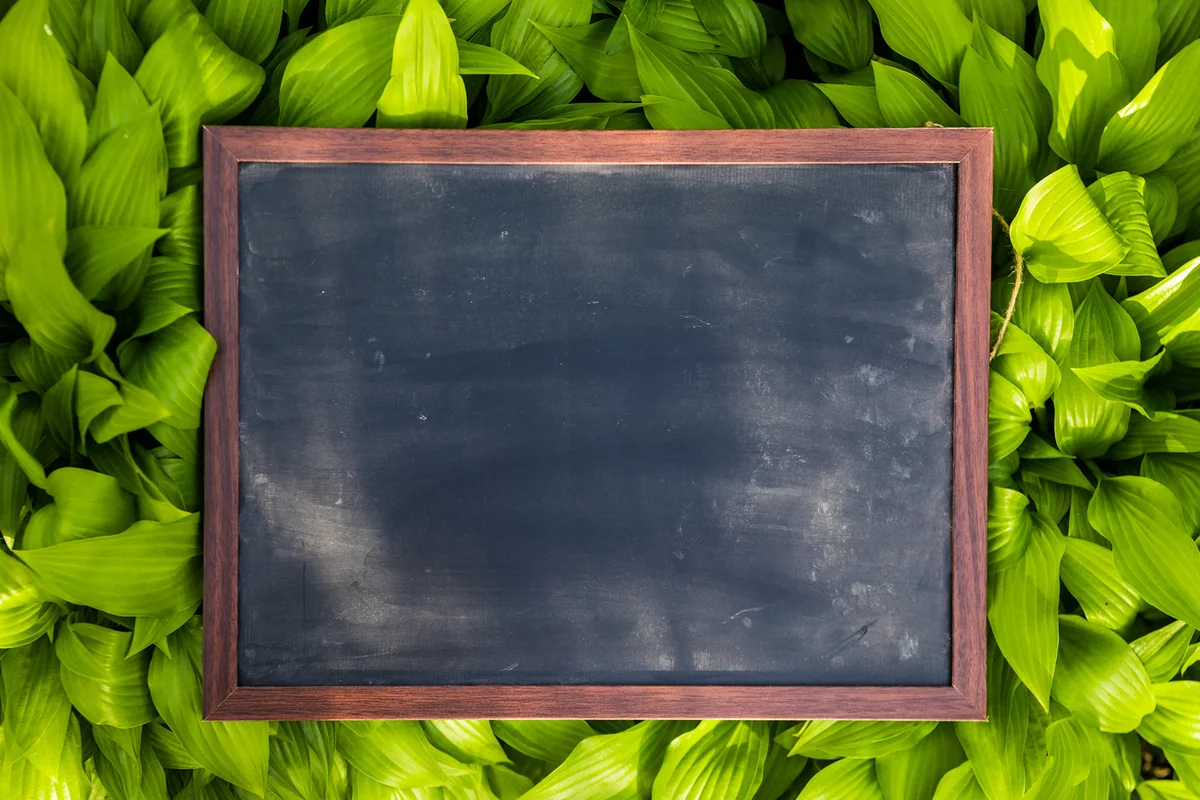
Welcome people to your home or give them directions for what to do at a party by turning an old picture frame into a chalkboard sign. You can pick any frame you like for this project, but one make of weathered wood or metal works well because it's sturdy and can handle exposure to the elements.
- Cut a piece of 1/4-inch plywood to fit the frame. Discard the glass and back of the frame.
- Sand the wood until it's smooth.
- Using a foam roller, apply primer and at least two coats of chalkboard paint in your chosen color. Allow this to dry.
- Use small nails or screws to attach the chalkboard to the frame.
- Tie a piece of twine or ribbon to the frame to make it easy to hang on your porch, a fence, in a tree, or anywhere else you choose.
Turn Nature Into an Art Gallery
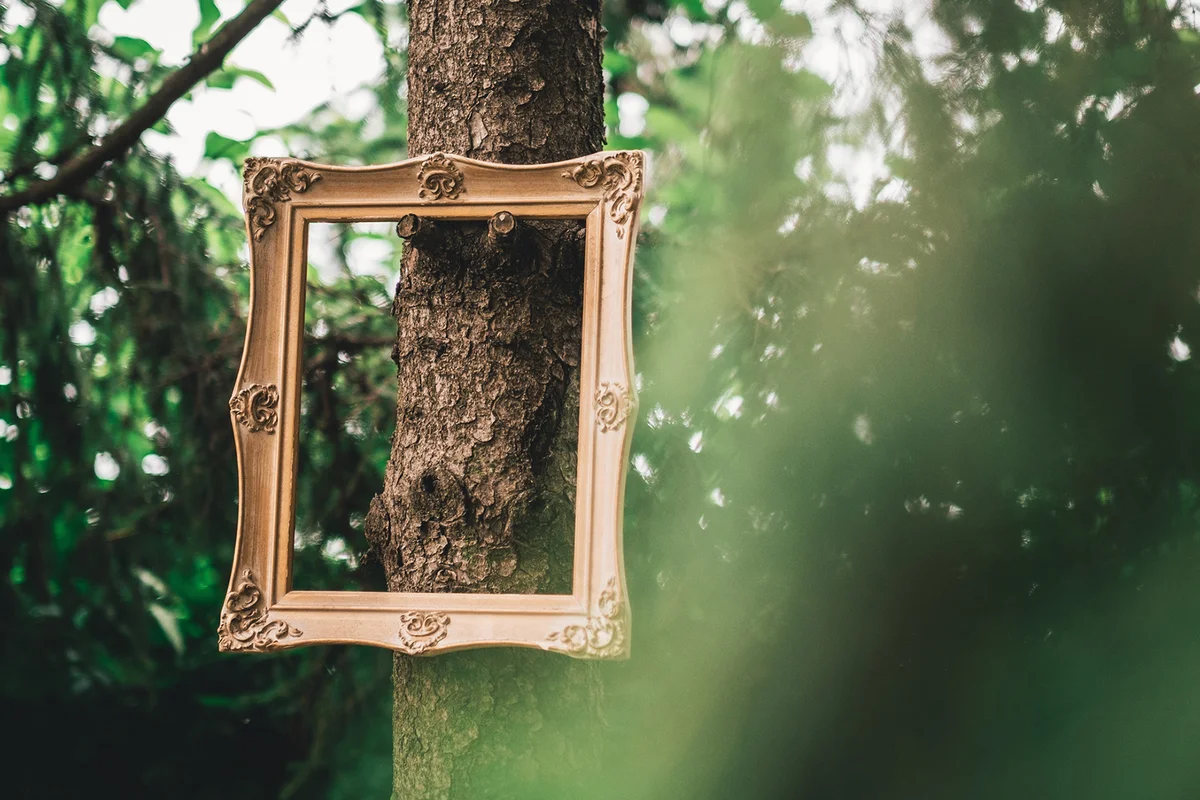
The simple addition of antique picture frames can make your backyard garden into a gallery. You can repurpose large picture frames this way, although you may not want to leave these up all the time unless they are made of metal or already weathered wood. Gilt and gesso frames should stay inside.
- Choose several large picture frames in a variety of shapes and styles.
- Scout out some locations for hanging them in your backyard. Great options include tree branches, garden walls, and planters with flowers.
- Attach strings or ribbons to the frames to make them easier to hang. You can attach them securely by using wire to wrap the hanging string around the branch or nail you're using.
- Hang the frames at different heights to create an interesting garden display.
Get Festive With a Rectangular Picture Frame Wreath
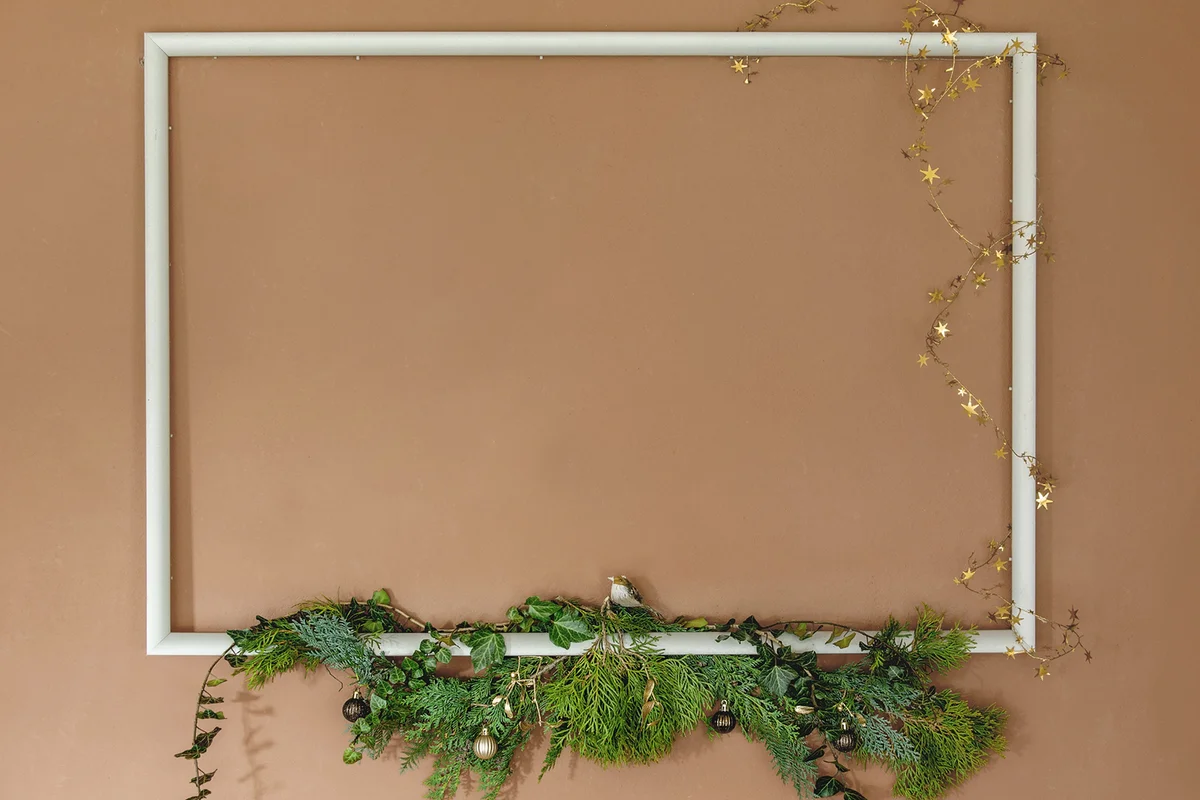
During the holidays, it can be fun to make your own wreath with an old picture frame. Gather greenery, lights, ribbons, pine cones, and other decorations and get started on your unique and festive design.
- Arrange greenery branches of different sizes along the bottom of the picture frame. Use floral wire to hold them in place. Continue adding greenery until the wreath looks perfect.
- Add decorations like pine cones, artificial flowers, wooden birds, and other fun items. Use wire to hold them in place.
- If you desire, create a bow and add it to the wreath. You can also add twinkle lights, tinsel decorations, or anything else you think is pretty.
- Hang the frame wreath on the wall of your home.
Let the Frames Be the Art
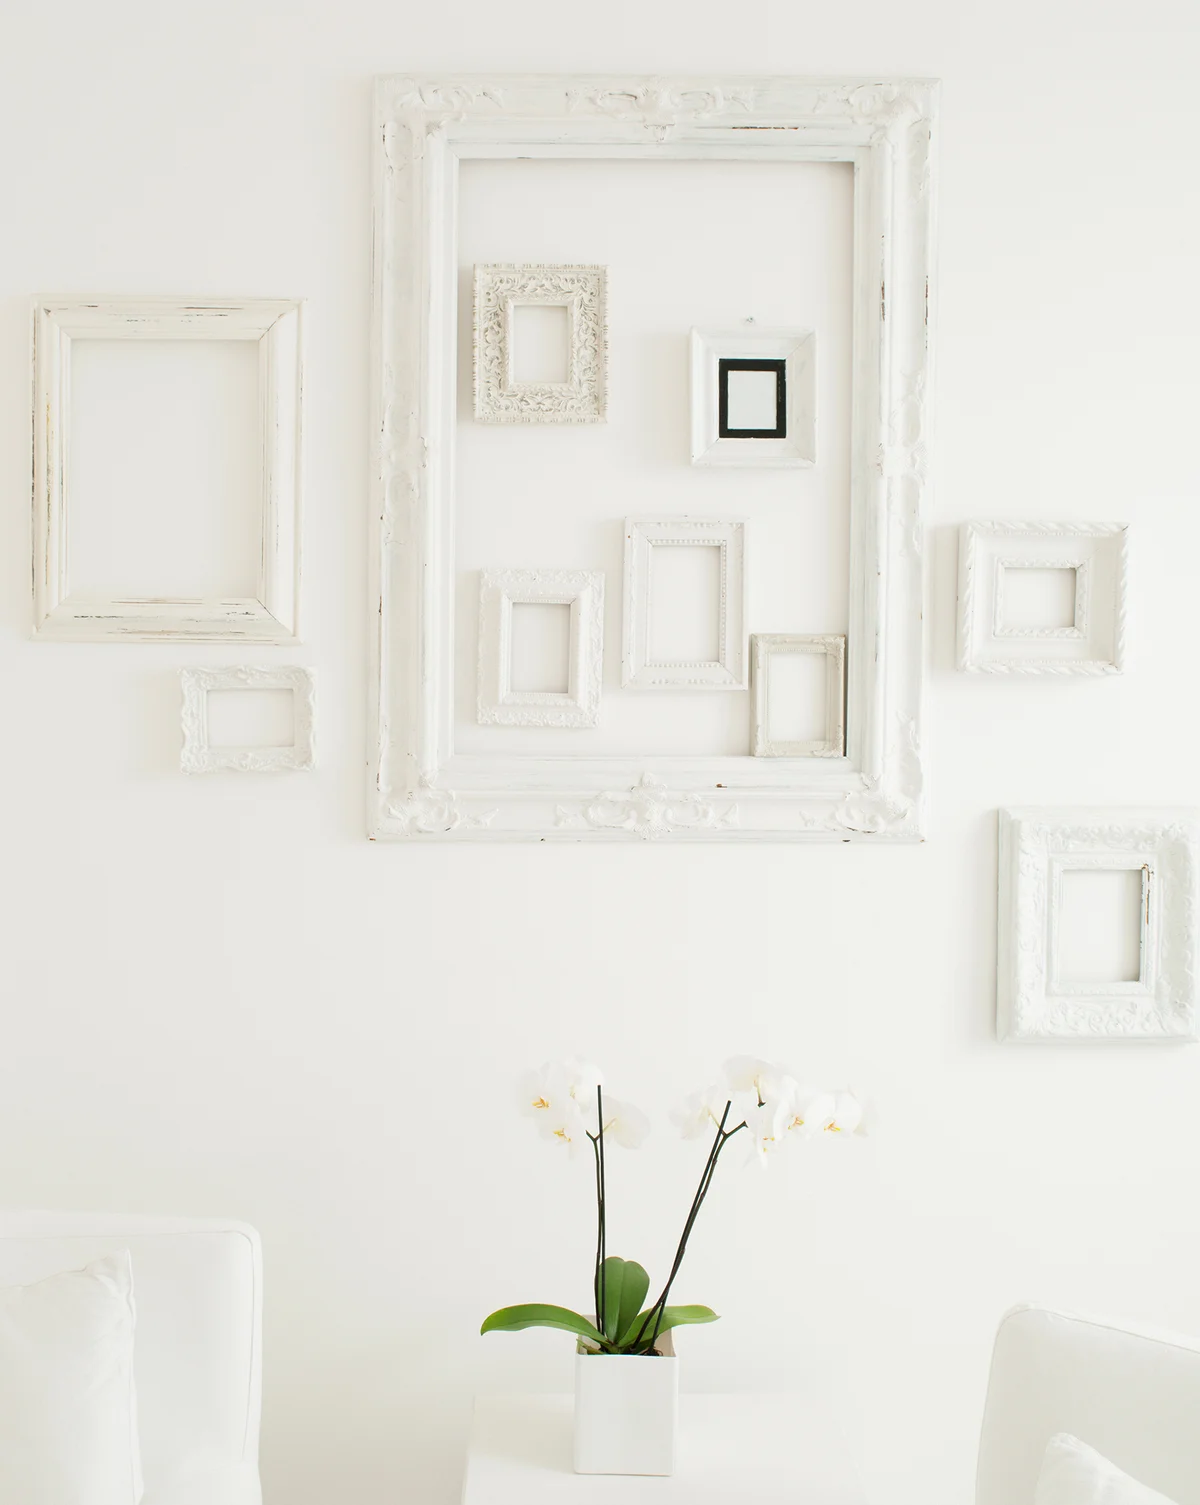
If you're wondering what to do with old picture frames without glass, this simple display is a perfect choice. The key is making sure the frames are all the same color to give the collection a cohesive look. When it comes to repainting picture frames, DIY instructions are all you need. It's an easy process that you can complete in an afternoon.
- Choose several frames in different styles and textures. Discard the backing and the glass.
- Clean all the frames and give them a light sanding with medium grit sandpaper if they seem to be very smooth. Make sure they are dust-free before you start painting.
- Lay all the frames out on a protected work surface. Because the frames may be different colors and surfaces, it's a good plan to prime them before painting. You can use a light coat of spray primer.
- Use spray paint to lightly coat each frame. Avoid drips and plan to do at least two coats.
- When the frames are dry, hang them together in a grouping on your wall. It's best to space them no more than four inches apart so the collection feels like one piece of art. You can put smaller frames inside larger ones for a layered look.
Frame Antique Textiles for Display
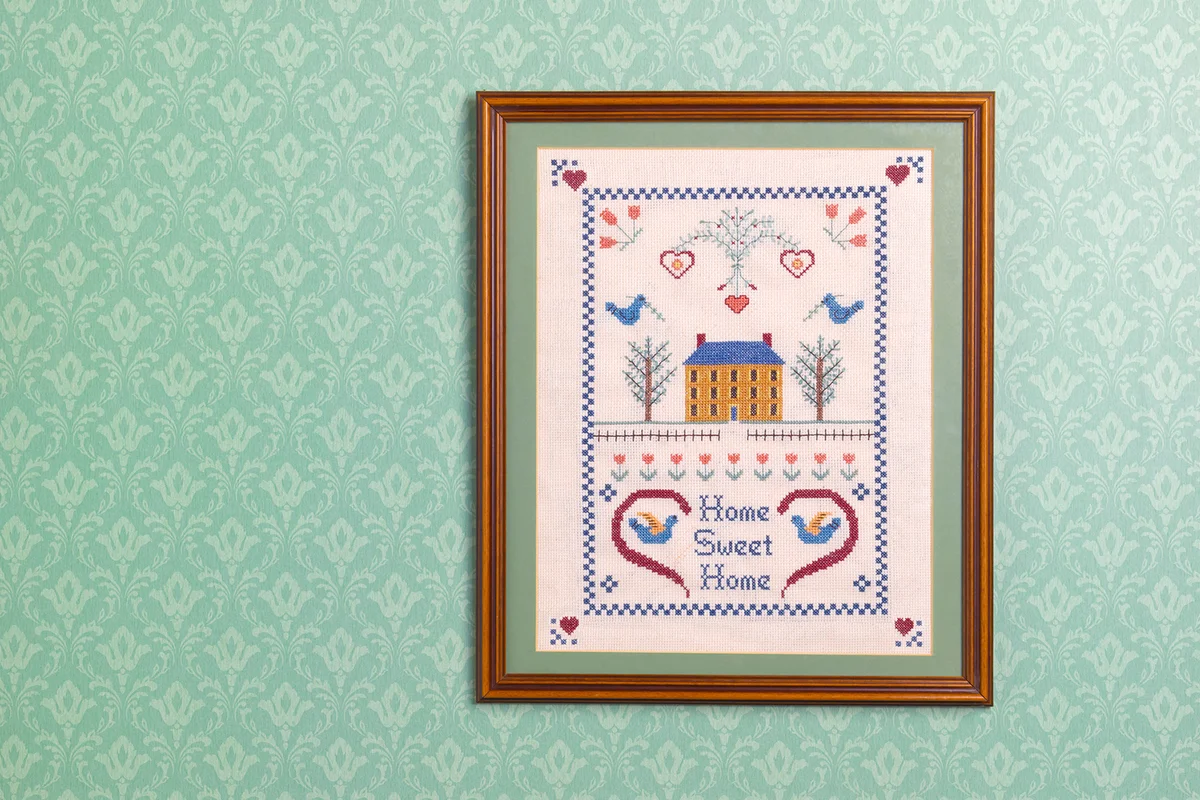
Old picture frames can be a perfect way to show off antique linens and vintage textiles. From old embroidery samplers to small pieces of antique fabric, a frame allows you to display your treasures in style.
- Choose an antique picture frame that has a back and glass. The glass can protect the textile from dust and dirt.
- Carefully press the textiles so there are no wrinkles. If the frame is already the right size, you can simply put the textile in the frame.
- If the frame is too big, add a piece of fabric to the back of the antique textile you're displaying. You can take a few careful stitches to hold it in place. The other fabric will serve as a mat for the piece you're showing off.
- Carefully reattach the back of the frame and hang it on the wall.
Hang Artificial Flowers on the Wall in a Vintage Frame
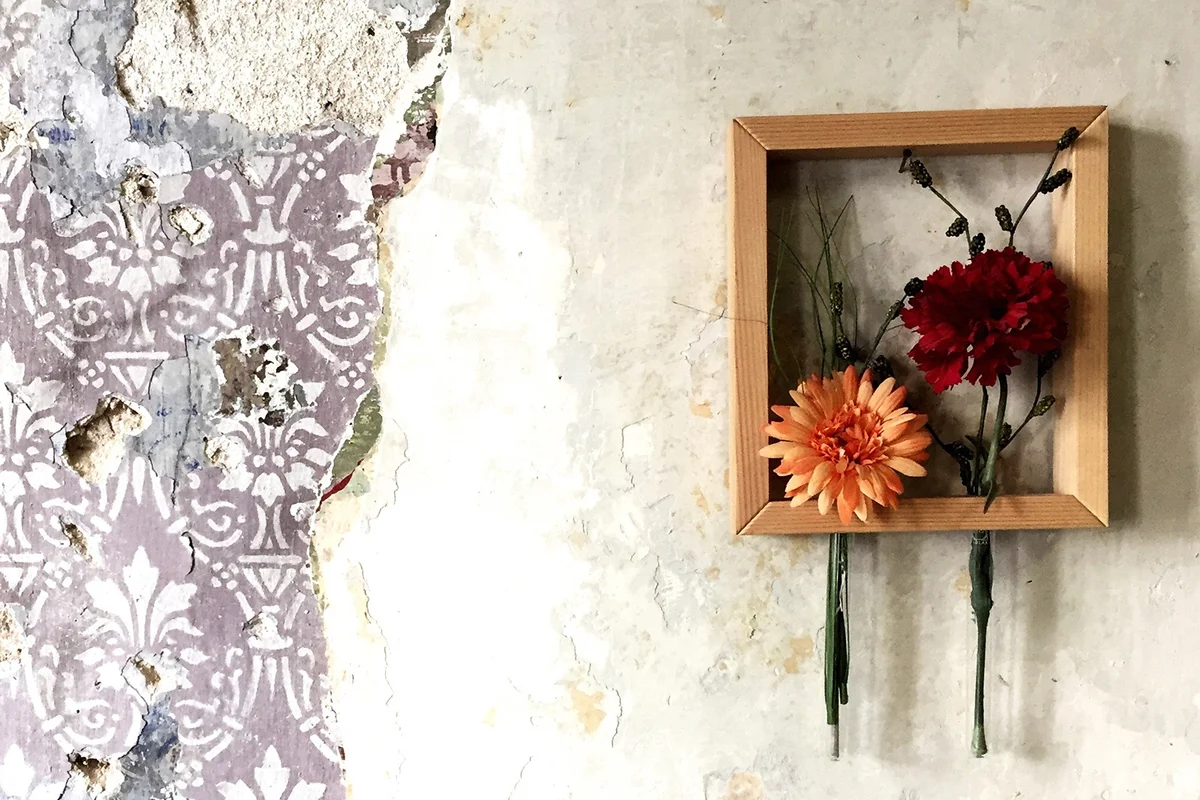
If you have an old picture frame that's in rough condition and missing the glass and backing, you can turn it into a display for artificial flowers. These flowers don't need water and stay pretty for months or years, so they're a perfect choice for this type of project.
- Choose a frame that is structurally sound and thick enough for you to drill a 1/4-inch hole through the bottom edge.
- Use a 1/4-inch drill bit to make several holes in the bottom of the frame. Make a hole for every flower you want to display.
- Poke the stem of the flower through the hole you drilled. Wrap the stem in floral tape to keep it suspended at the height you desire.
- Hang the floral frame on the wall and enjoy.
Display Your Large Three-Dimensional Pieces
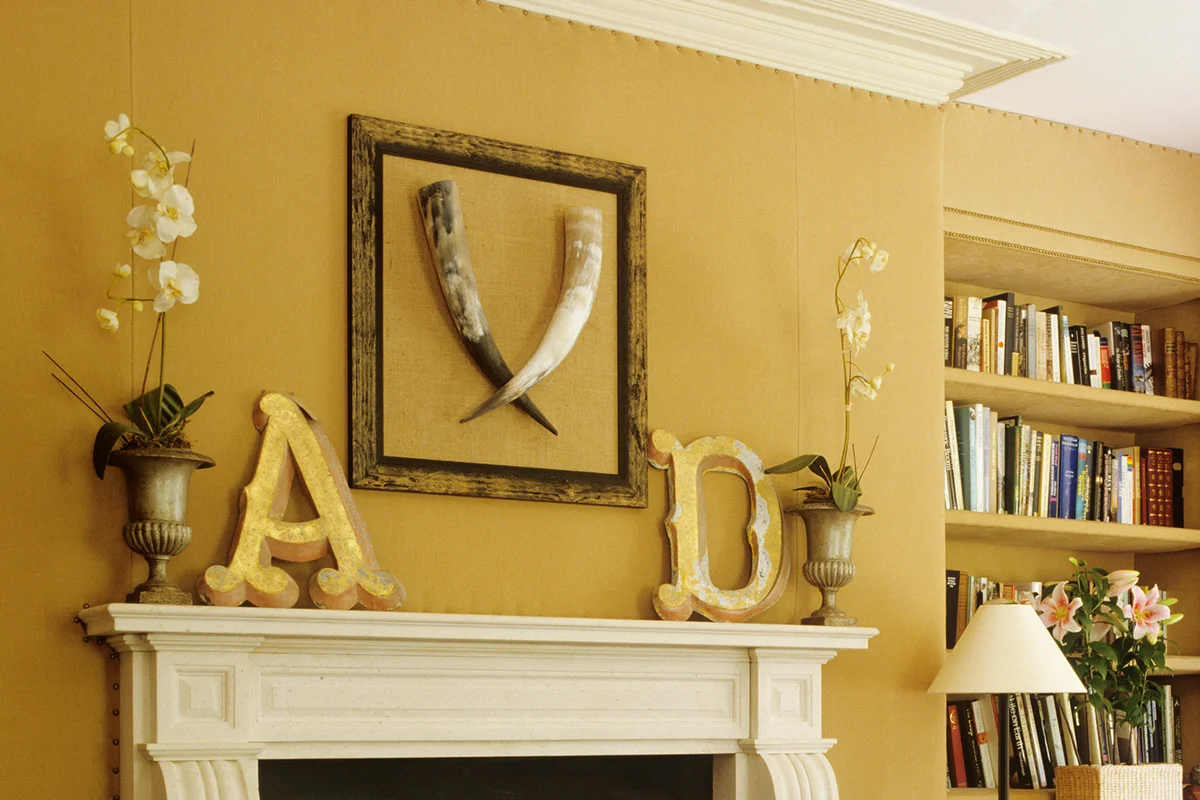
It can be difficult to know how to show off three-dimensional antiques like architectural pieces, musical instruments, large tools, and other items. One great way to do this is to use an antique picture frame.
- Hang the large item on your wall. You can use wire to create hanging loops for your pieces.
- Choose an antique frame that is missing the glass or remove the glass. Remove the backing as well.
- Hang the frame around the three-dimensional piece to show it off.
Show off Pressed Flowers in an Old Frame
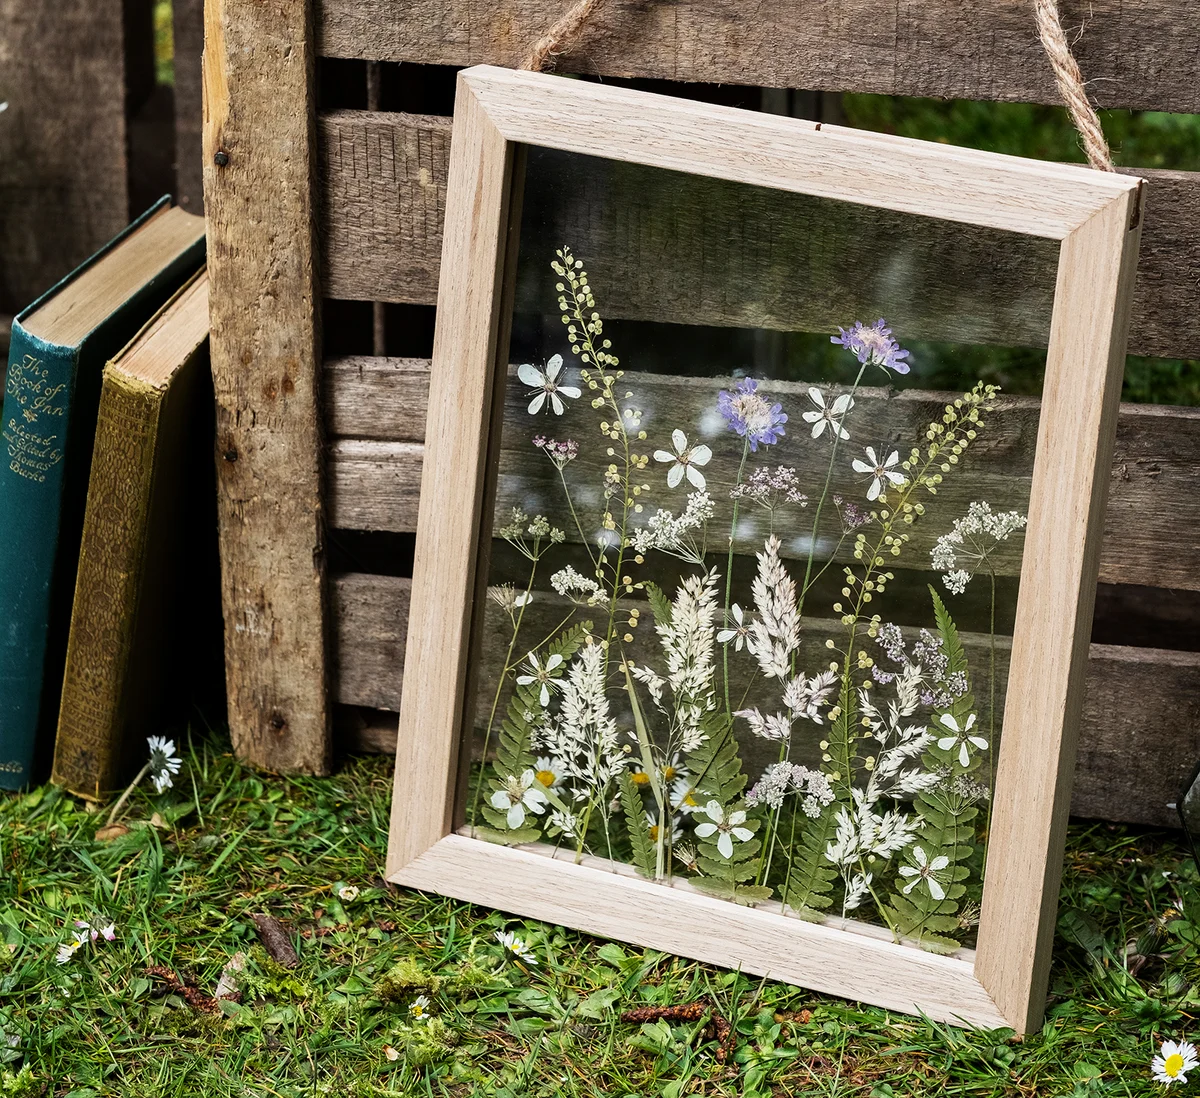
Pressing flowers can be a fun hobby, but it's difficult to know how to show off the flowers you press. One great way to do this is with an old picture frame. You'll need two pieces of glass in the same size and some glazier's points to make this display.
- Place one clean piece of glass in the vintage picture frame.
- Arrange the already pressed flowers on top of the glass in your desired pattern. You can make them "grow" up from the bottom or scatter them over the surface.
- Place the other piece of glass on top of the flowers, pressing them between the two pieces.
- Use glazier's points to secure the second piece of glass to the frame.
- You can add twine or ribbon for hanging the frame or simply hang it on a nail from the upper edge.
Repurpose an Old Picture Frame as a Mirror
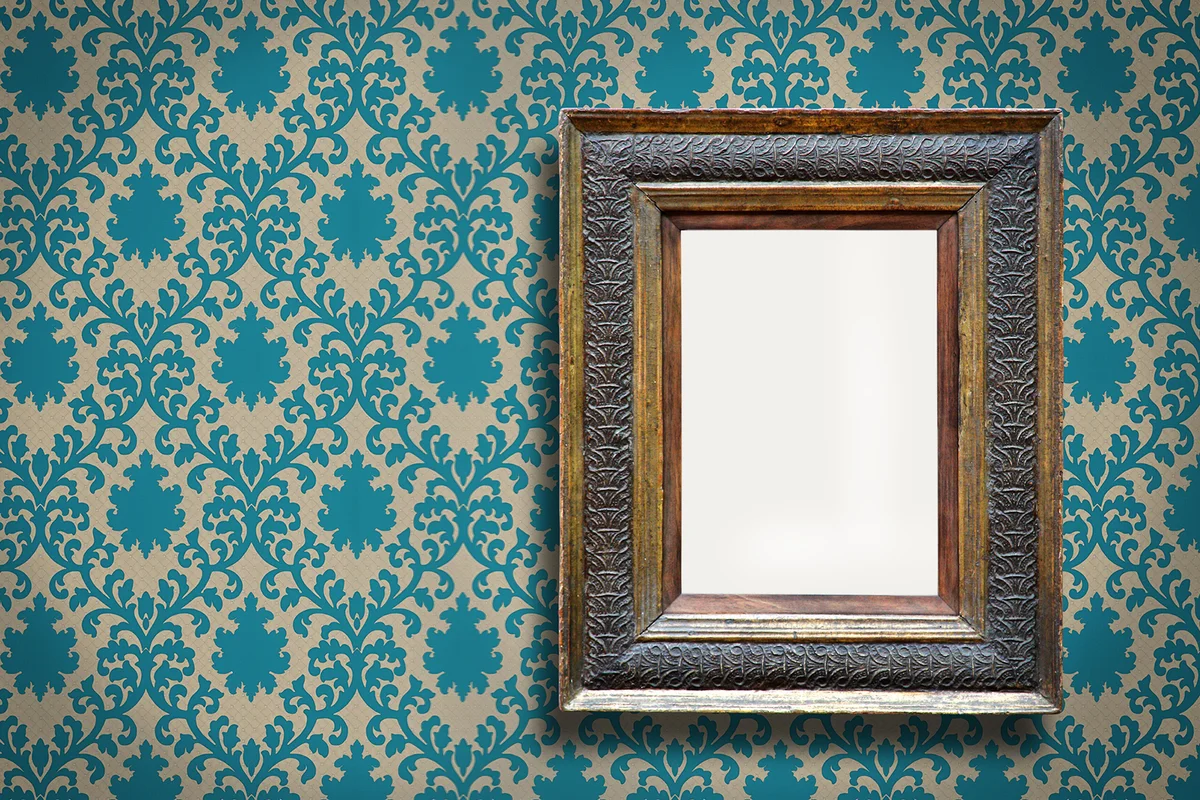
It may seem simple, but an antique picture frame can make a very beautiful mirror. Because a mirror reflects its surroundings, it will go with any kind of decor. The key to making this work is properly measuring the frame.
- If the old picture frame has glass, you can remove that and use it as a pattern for the mirror. If not, you'll need to measure the backing of the frame. Either way, measure exactly, including any fractions of an inch or centimeter.
- Contact a local glass shop and ask them to cut a piece of mirror glass to fit the opening.
- When the mirror glass is ready, place it in the frame. You can use the original back if the mirror is the same thickness as the glass. Otherwise, use glazier's points to hold the mirror in the frame.
So Many Options for Using Old Picture Frames
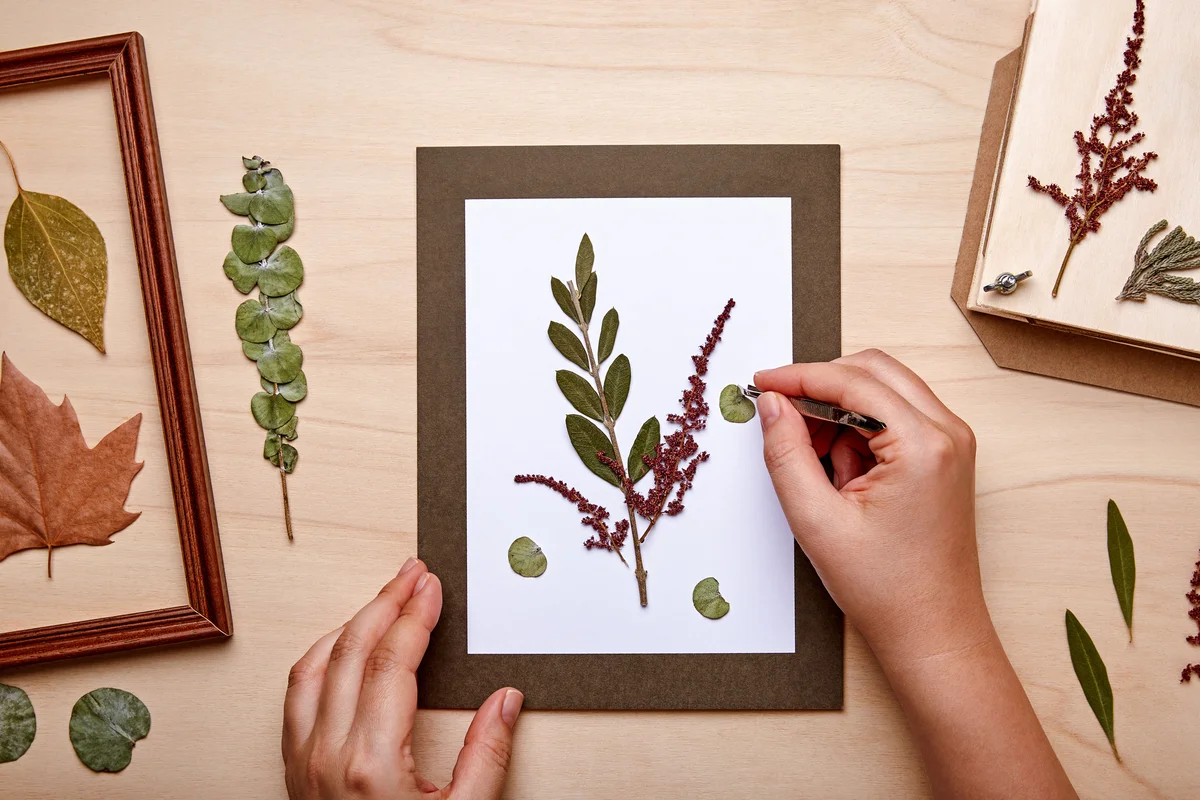
There are so many options for fun DIY projects with old picture frames. Repurposing these display pieces is a great way to keep them in use and continue to get enjoyment out of them. In addition to these ideas, you can always use antique picture frames as they were designed: as functional wall decor to show off your favorite art.
Can't get enough of upcycling? Try these ideas for repurposing old doors.