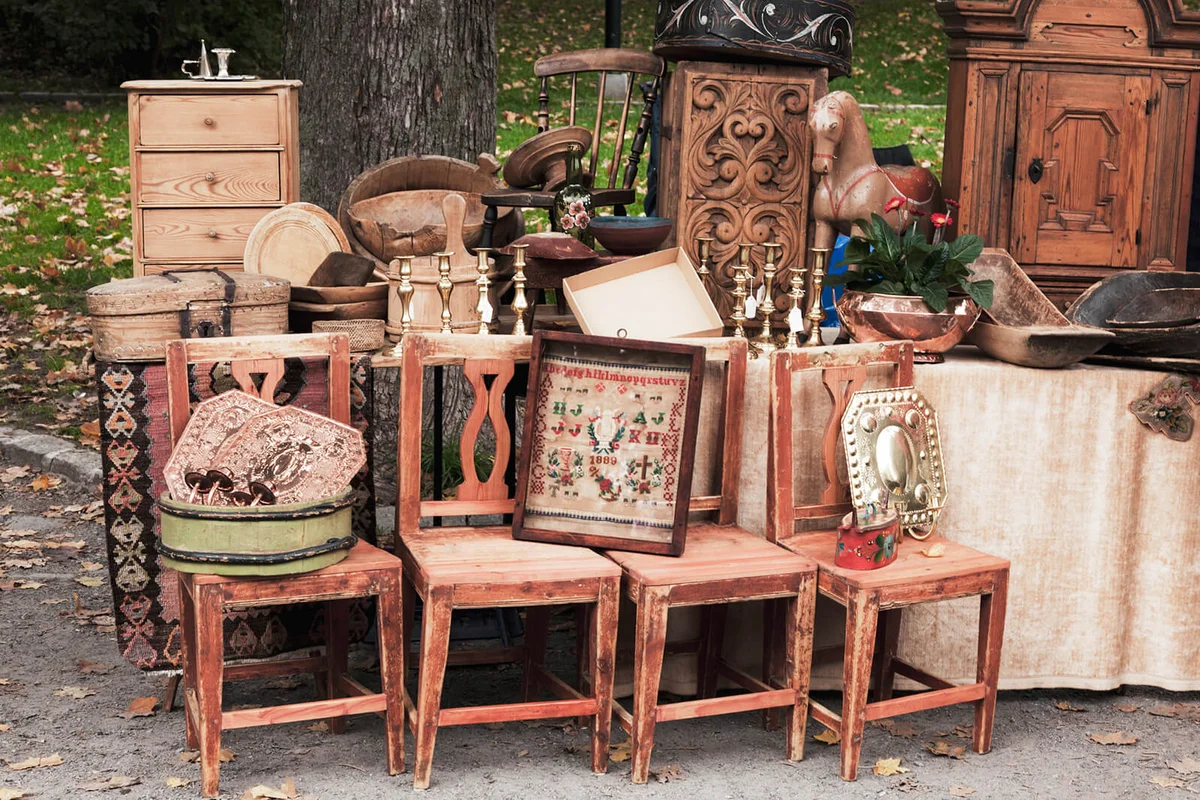
We all know the saying that someone's trash is another's treasure, and that couldn't be more true than it is for flea market flippers. Pulling back dusty furniture and moving through dirty piles of old goods might not be a glamorous way to spend your weekends, but it can be fun and lucrative.
With craft styles making a comeback, today's the day to give your first flea market flip a try.You don't have to own an extensive power tool kit or make furniture on the side to be able to DIY your own flea market flip. With a little know-how and some determination, anyone can pull off these flea market furniture flip ideas.
Turn a Flea Market Wooden Cabinet Into a Farmhouse Dream
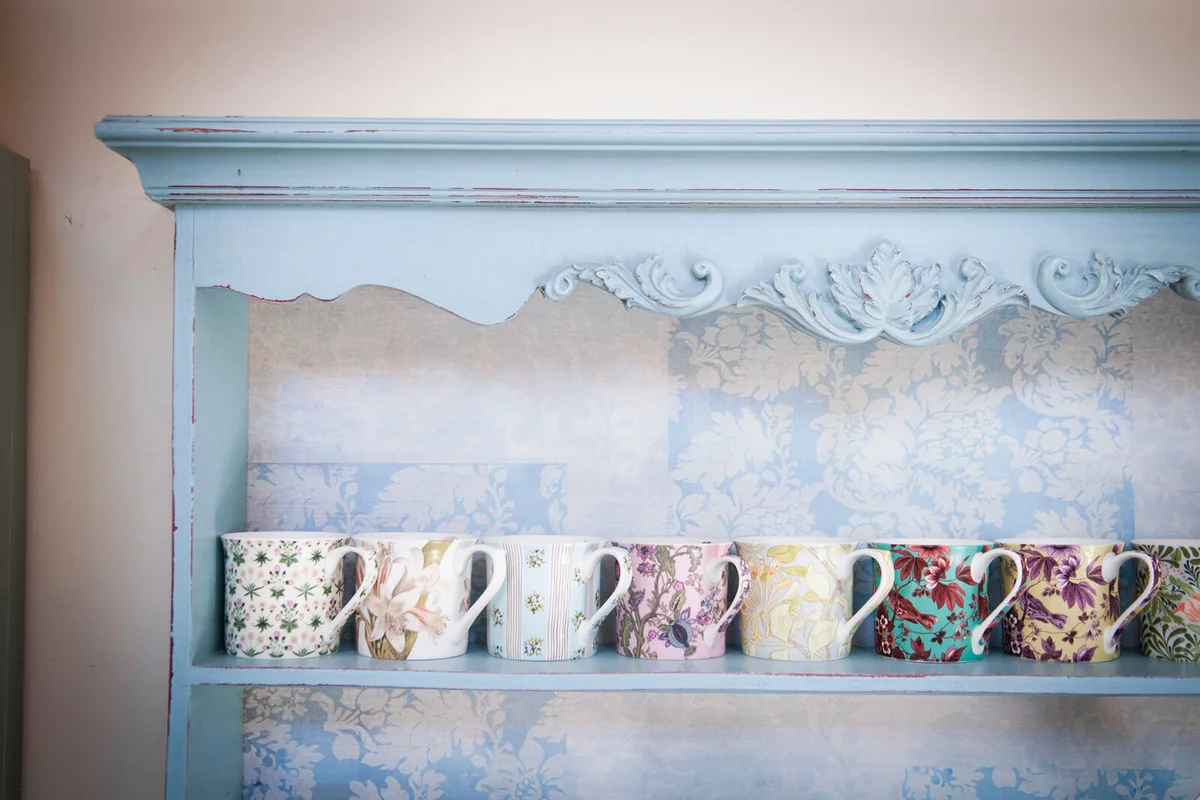
As you start looking for furniture to flip, you'll find a lot of vintage wooden pieces our grandparents got rid of when they downsized their homes. Unfortunately, the light wooden furniture that was all the rage in the 1970s and 1980s isn't as popular today. But you can easily transform an old wooden cabinet into a distressed farmhouse dream in a few steps.
- If the cabinet comes with doors, unscrew the hinges and remove them. You can keep the doors for another DIY project.
- Wipe your furniture down with cleaner and a towel to remove any grime and dry it.
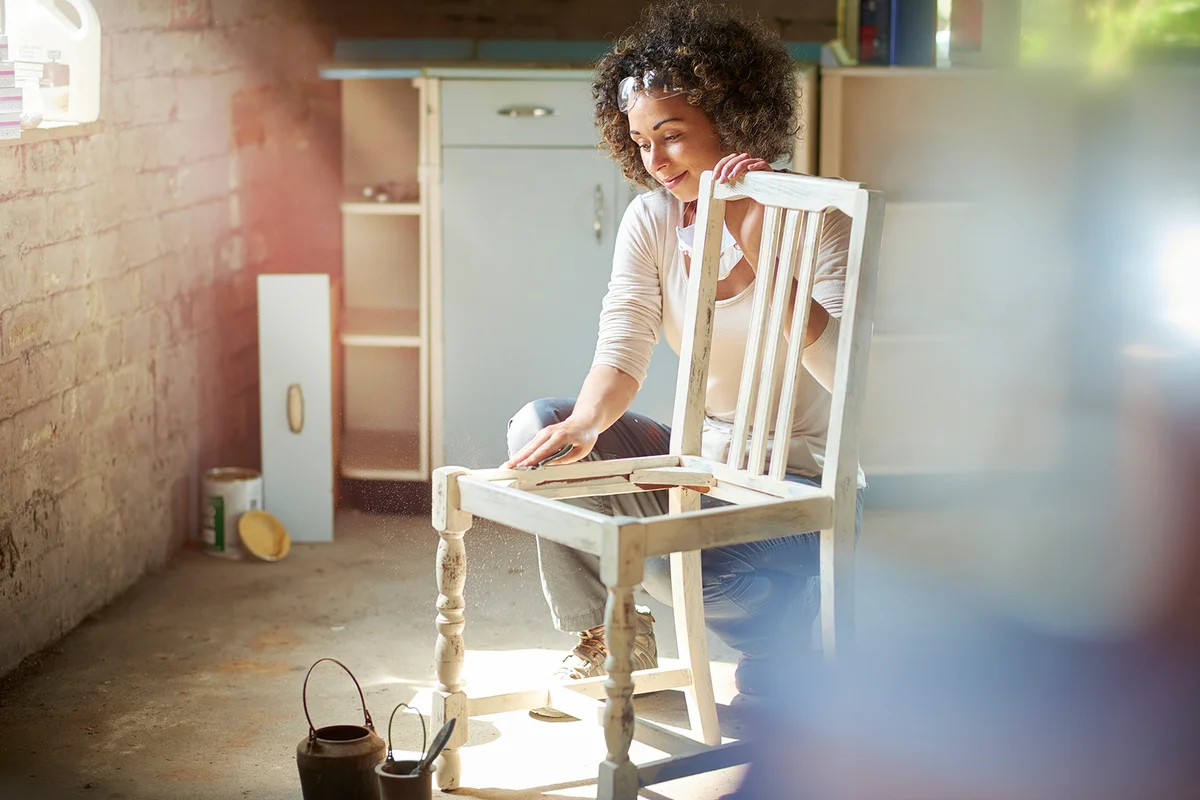
- Take a sanding sponge or paper with a fine grit and scuff up the wood. This helps the paint adhere to your furniture and removes any gloss or lacquer that was applied before.
- Remove the shelves to paint individually.
- Apply a sealant to your paint to add longevity.
- To add some character, you can measure, cut, and stick some cabinet-safe wallpaper or vinyl to the back of the shelves. Of course, don't do this until your paint is fully dry.
- Put the shelves back in, and taking a light sanding tool or sand paper, gentle work away a little bit of paint around the edges. This gives the piece a purposefully distressed look that farmhouse enthusiasts love.
Upholster Flea Market Chairs for a Modern Vibe
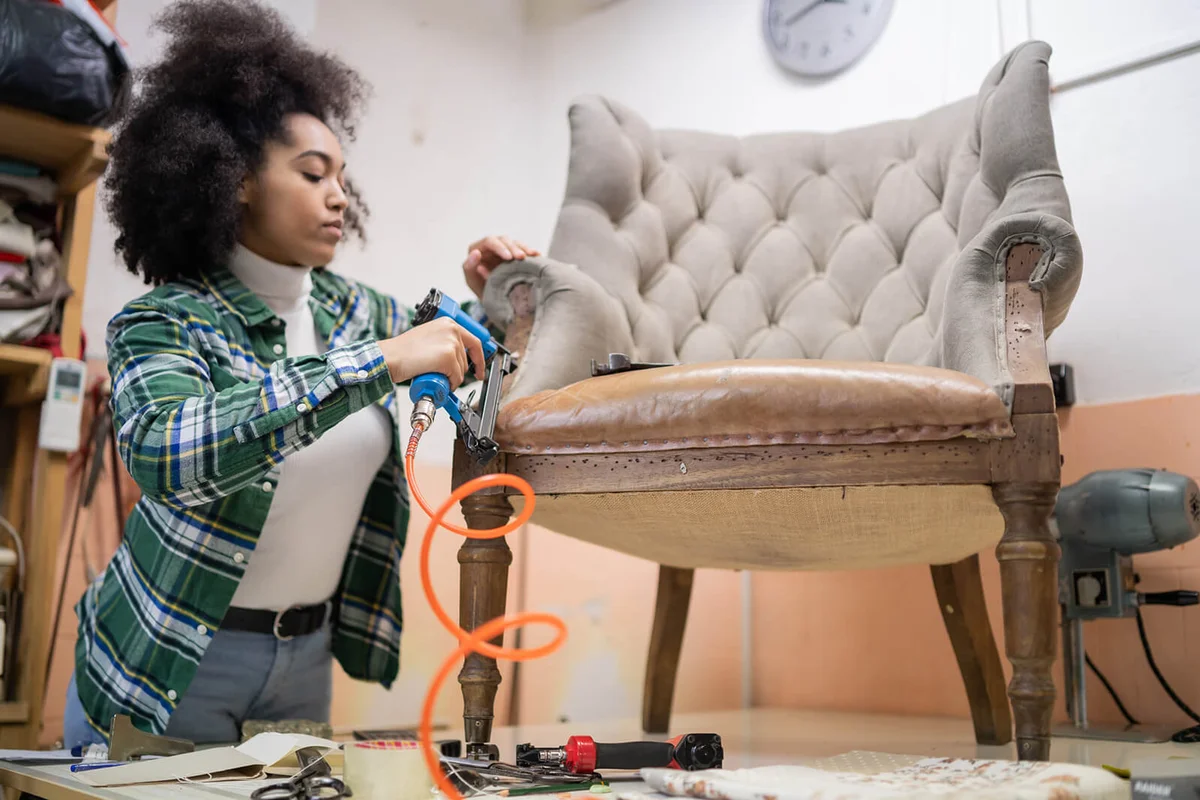
The quickest way to update an old chair is to reupholster it. Some chairs, like Queen Anne styles, aren't great choices for beginners to undertake. But changing up the fabric on a set of dining room chairs doesn't take nearly the expertise or time. There are only three layers you need to worry about: foam, batting, and fabric. Cutting each to size and layering them on top of each other, these materials will transform any old chair into something worthy of a boutique booth.
- Use a screwdriver to unscrew the seats from the frame.
- Remove the staples holding the fabric to the seat and take off all three layers. Set the top fabric layer to the side.
- Take a piece of foam, and using the seat as a template, trace the shape onto it. Do so for the number of chairs you're fixing.
- Using a utility knife, or other blade, cut out the squares.
- Take the original fabric layer and trace the shape onto your new fabric. Cut out as many pieces as you need.
- Follow the same method using batting materials.
- Set the fabric down, with the batting layer, foam layer, and finally the seat on top. Fold the fabric around the corners as you're pulling each side of the layers taut against the underside of the seat.
- Staple the fabric to the chair as you pull it in.
- Once you've finished with all your seats, you can screw them back into the chair frames.
Upcycle an Old Ladder Into a Crafty New Shelf
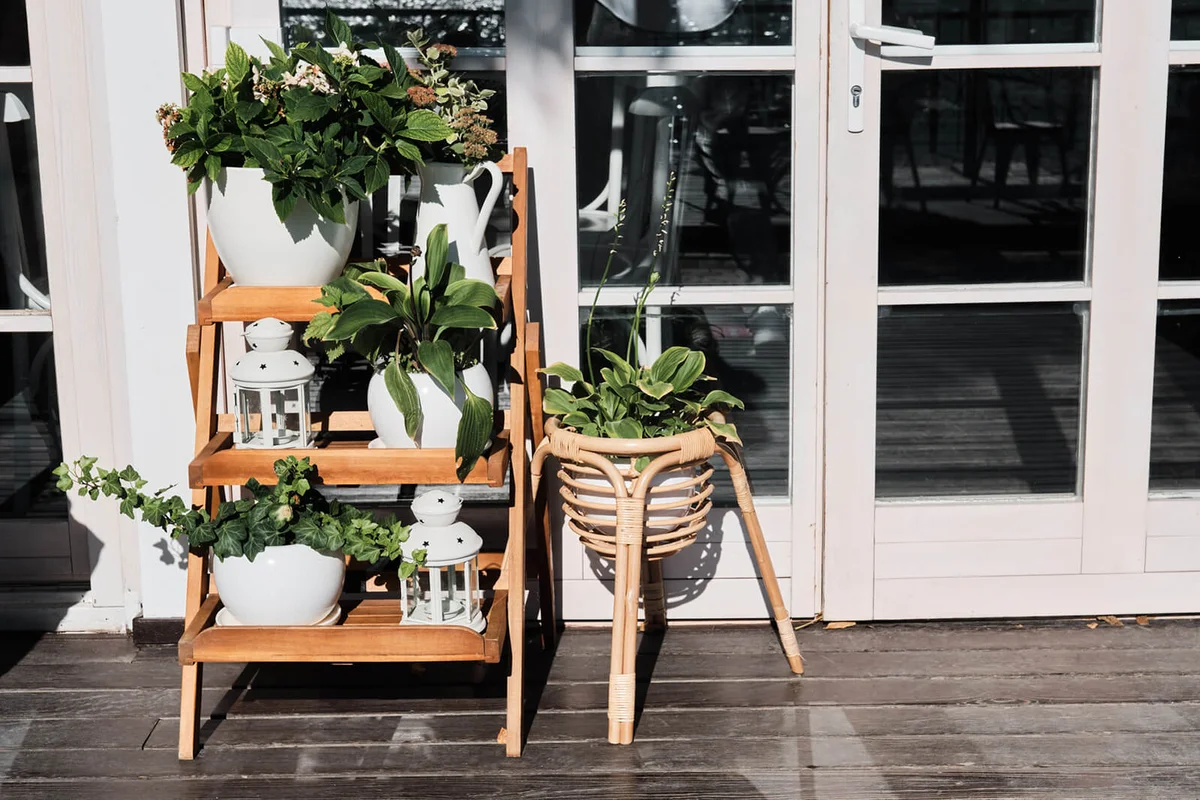
In the past few years, decorative ladder shelves have taken off, and they're a good craft that new flea market flippers can take on. The easiest to transform are wooden ladders, as you can really turn them into something special with just a few steps.
- Wash the wooden ladder to remove any dirt and grime. Dry it.
- Lightly sand the ladder to remove any finish or old paint that was already there. This will help the new paint stick better.
- Paint your ladder. Since you're going to put new shelves on it, you don't have to paint the footholds. Let it dry.
- Take wooden boards combined to make an appropriate width to fit inside the frame, and mark where you want the shelves to end. This could be really close to the frame or pretty far out.
- Do so for all the rungs, and then, using a circular saw or miter saw, cut the wood into the right size.
- Take the loose boards and secure them together with two small wooden blocks underneath. Screw the boards into the vertical blocks.
- For a permanent fixture, you can screw or nail the boards into the old steps, or you can just rest them on the steps if you want to be able to move the furniture more easily.
- If you're planning on keeping this shelf outside, finish the whole thing with a sealant.
Convert an Old Chest of Drawers Into a Bathroom Sink
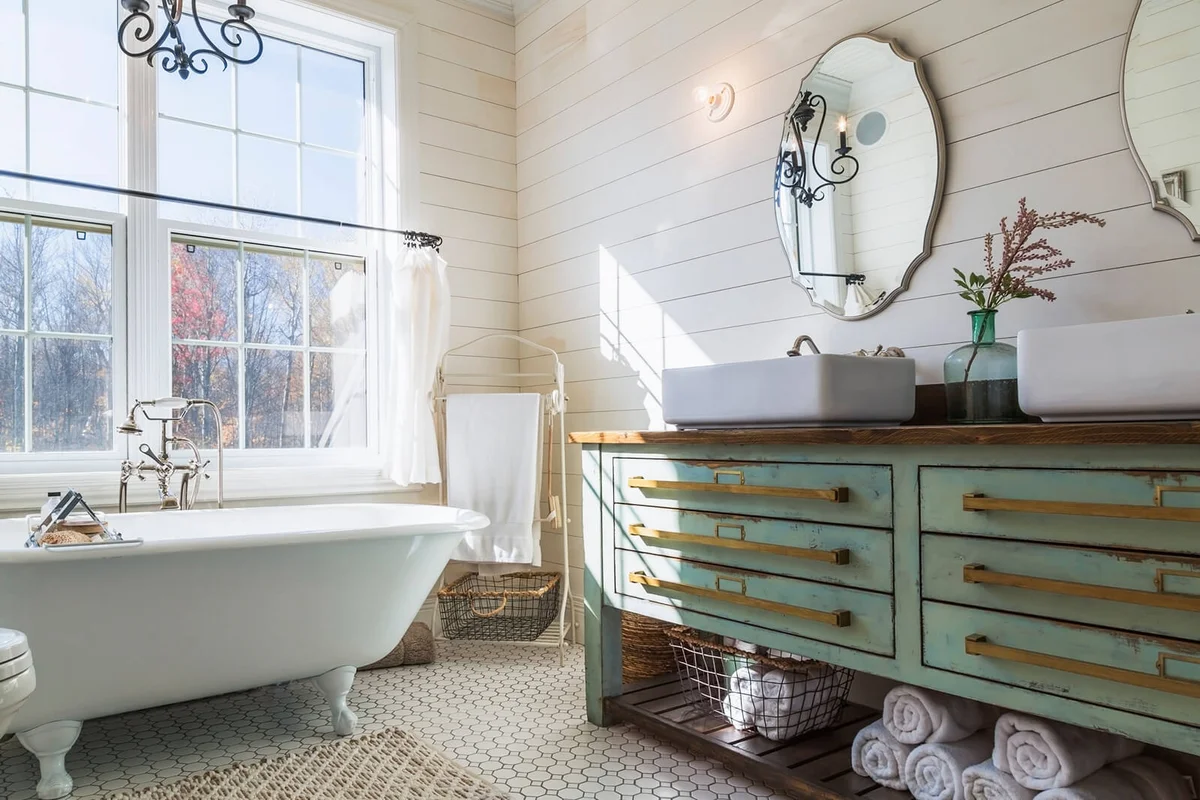
Modern-day bathroom cabinets lack a lot of personality, and one way to bring life into an underappreciated space is by using furniture in a unique way. With a little time and effort, you can take old chest of drawers and convert it into a bathroom sink.
- Measure your bathroom to make sure you have enough room for a new cabinet. If you're thinking about using your existing countertop in the cabinets, then measuring is super important.
- Once you've measured everything and have the chest of drawers in place (taking steps to paint if you want to before getting to this step), lay the new sink upside down on the countertop where you want it to fit and trace around it with a pencil.
- Drill holes in the countertop just inside the edge of your outline.
- Using a jigsaw tool, jigsaw the entire sink outline open by going from hole to hole.
- Drop the sink inside.
- Unless you're a professional plumber, hire a plumber to install the new plumbing correctly.

Tips for Finding Flea Market Furniture
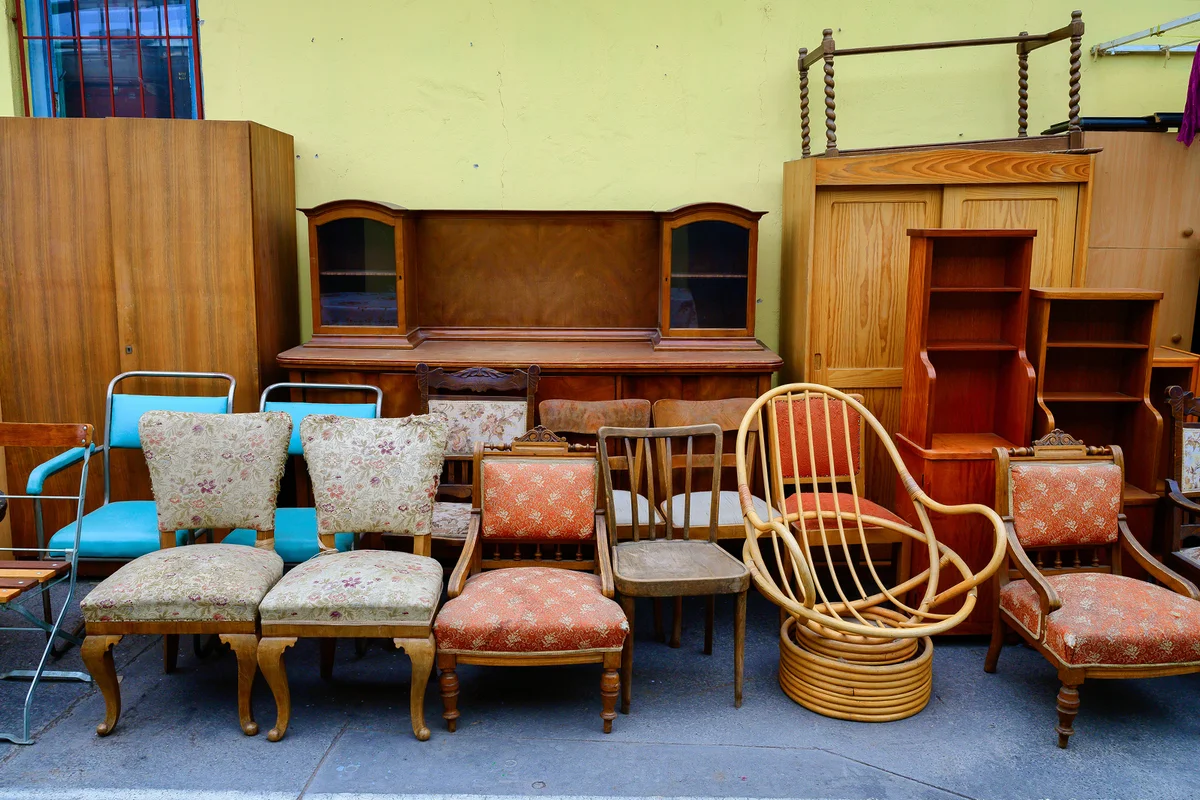
Getting dusty and sweaty in the early mornings might be a daily occurrence for some, but for flea market goers, it's only justifiable if you score some great finds. If you're heading to your first flea market, then there are a few things you need to know.
- Get there when the market opens. That's when you'll have the best chance of finding really good stuff.
- If you're looking for bargains, go on a rainy day, a hot day, or at the end of the day when vendors are eager to make sales so they don't have to pack and haul as much stuff.
- Don't be afraid to bargain. It's expected at flea markets.
- Take the time to truly assess the flea market furniture to make sure it has good bones and is structurally sound.
Tips for Picking Flea Market Furniture
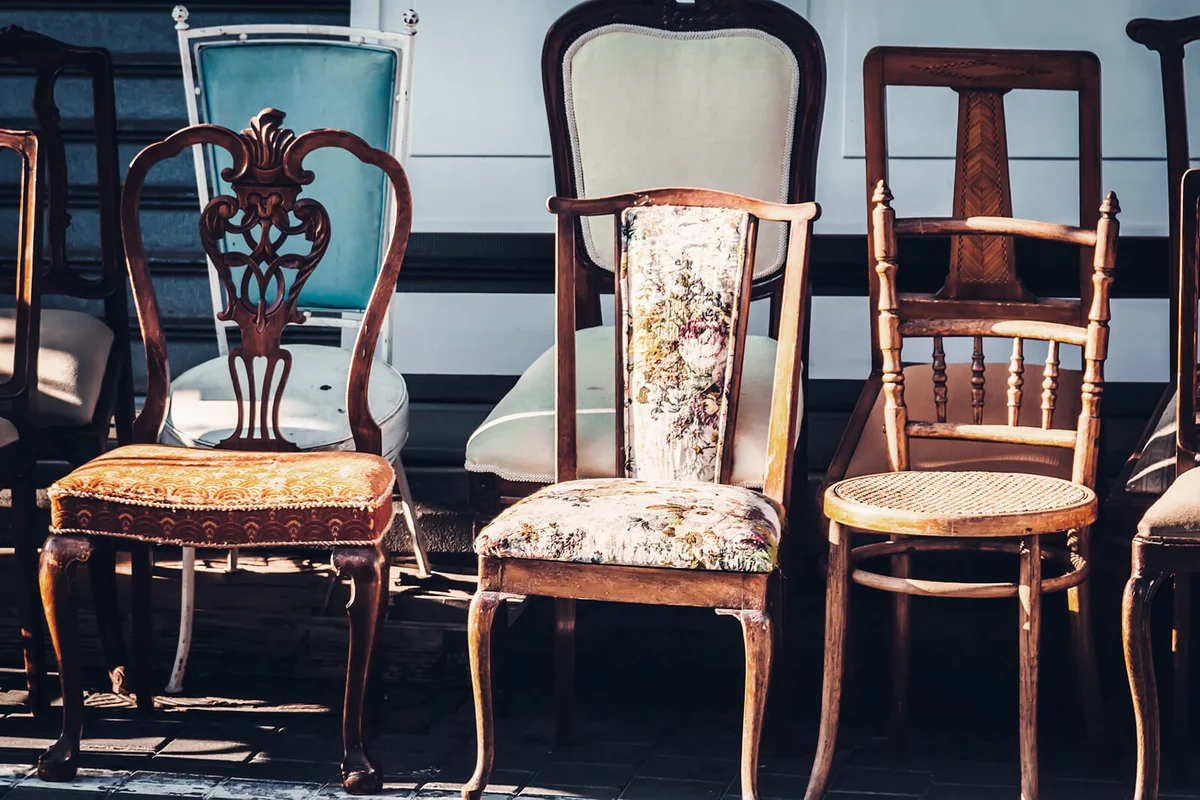
When sifting through piles of old furniture at the flea market, keep the following in mind:
- Look for things made of real wood. Real wood is far more valuable than compressed wood, and it'll hold up for a lot longer. Check that wood grains follow along the edges, see if it's heavy, and look for tiny indentations on the surface.
- Find undervalued pieces. Look at the price tags and see what something's selling for. While you can try to haggle, finding wood or designer furniture that the owner hasn't clocked yet will let you get out of there with a huge deal.
- Gravitate towards furniture that's hardly used. It'll be easier for you to flip a piece if it's hardly been used. People like to pay more for things they think are new, and with a fresh coat of paint on a good piece of furniture, you're golden.
Warning Signs for Flea Market Pieces to Avoid
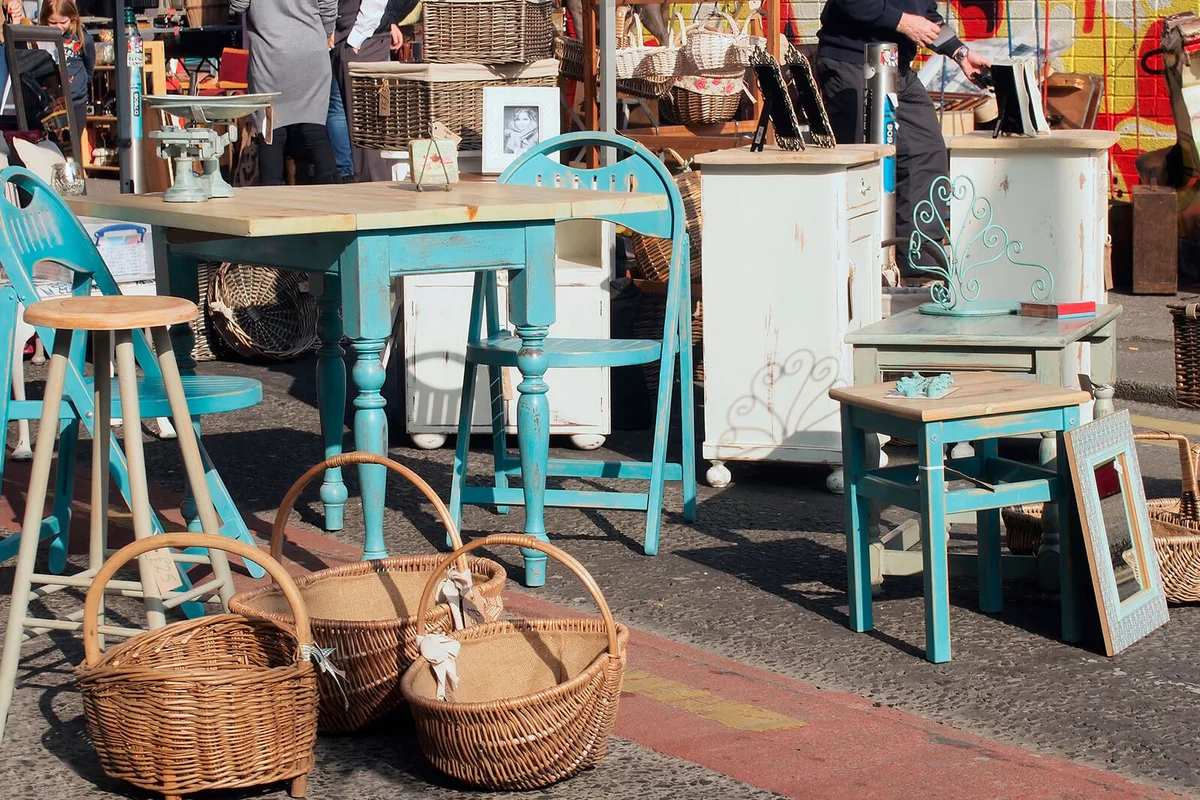
For first time flippers, there are going to be a lot of things to look through, and you might think you've landed on the holy grail type of item. But beware of finding these signs so your dream doesn't turn out to be more of a nightmare.
- Look for pieces with loose or broken bits. Sometimes, sellers aren't entirely honest, and they can place items lying flat or on top of another piece so you don't notice a leg's screw is loose, or a drawer falls right out of its track. Make sure to check every piece on any old furniture to look for weak points.
- Don't fall for high price tags. The purpose of flipping furniture is to make a profit, and there's hardly any piece out there that you'll be in the black with if you spend hundreds or thousands of dollars on it. You'll make more on spending less than you will on investing up front.
- Leave pieces with serious mold or water damage. If there's only a little bit of the green and black speckling of mold on upholstery that you're planning on changing, that's one thing. But furniture riddled with mold or wood that's taken on serious water damage isn't worth the time and money it takes to fix it.
- Stay away from furniture with lead paint. Lead paint is toxic and difficult for beginners to remove safely. If paint peeling patterns look like reptile skin or it leaves a chalky residue on your fingers, steer clear because it could be lead paint.
Profit From the Past

Flea market flipping is supposed to be fun. You don't have to obsess over making the perfect piece to sell or worry about finding a buyer for something you made a few weeks ago. Part of the excitement is the process of transforming something old into something new, and it's this adventure that makes the hobby so worthwhile.